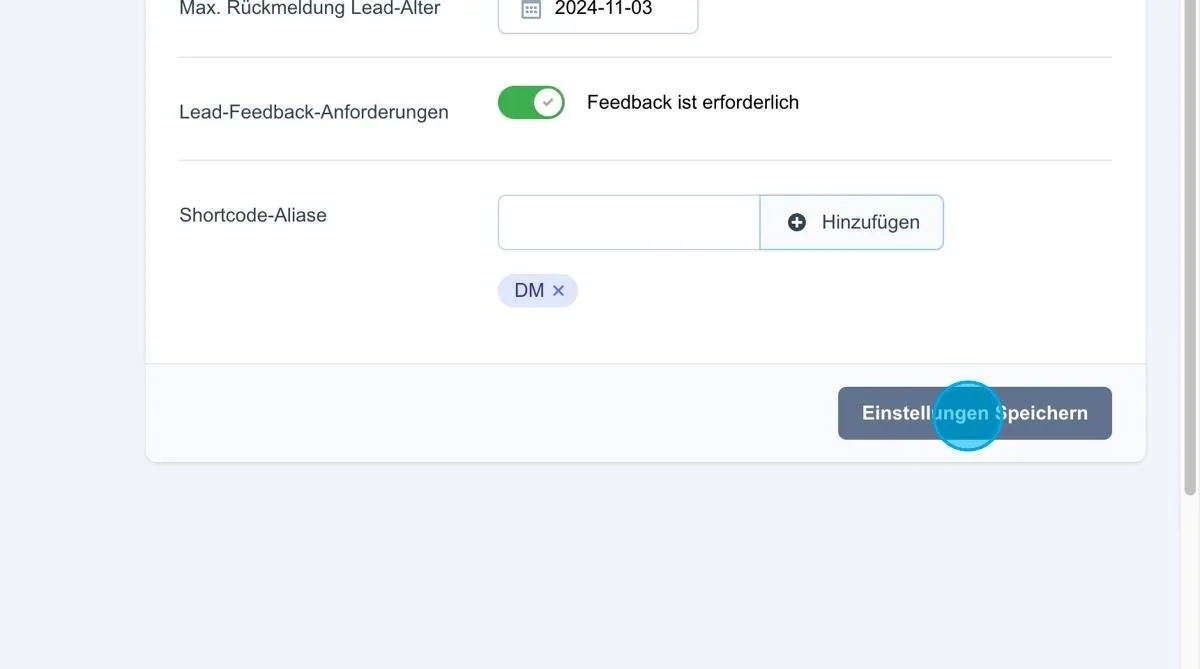
After clicking “Create”, the new lead type is saved and you are taken directly to the basic settings of the lead type to make further adjustments.
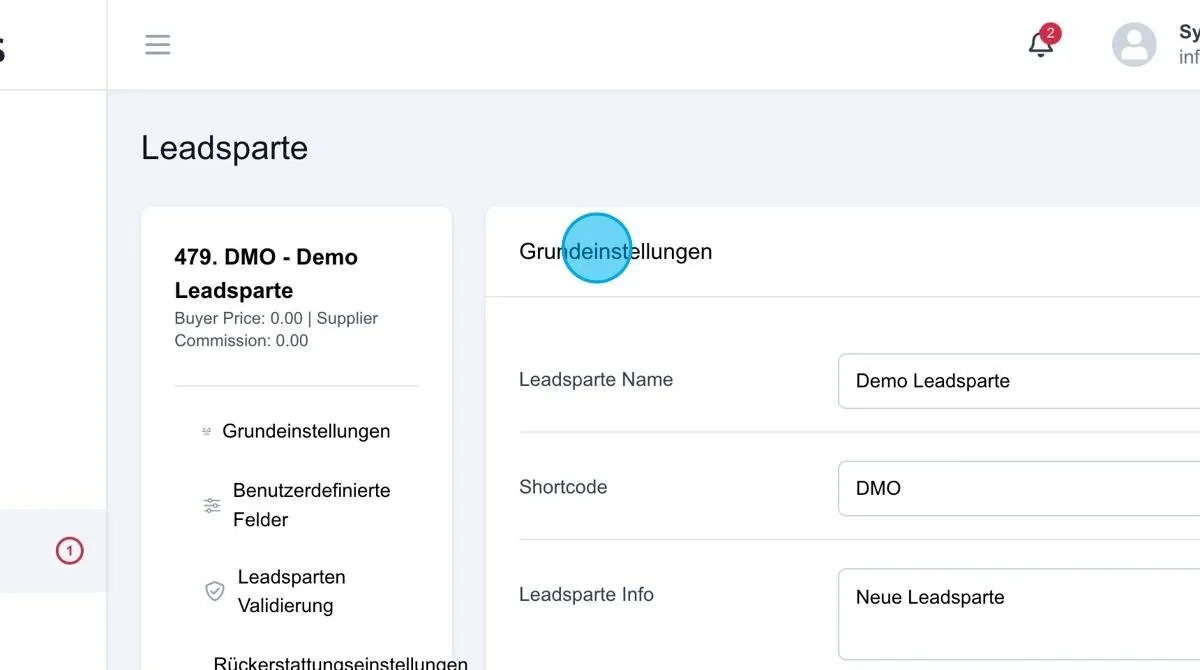
Lead type name
The name of the lead type, as defined previously. It can be edited and adjusted at any time afterwards.
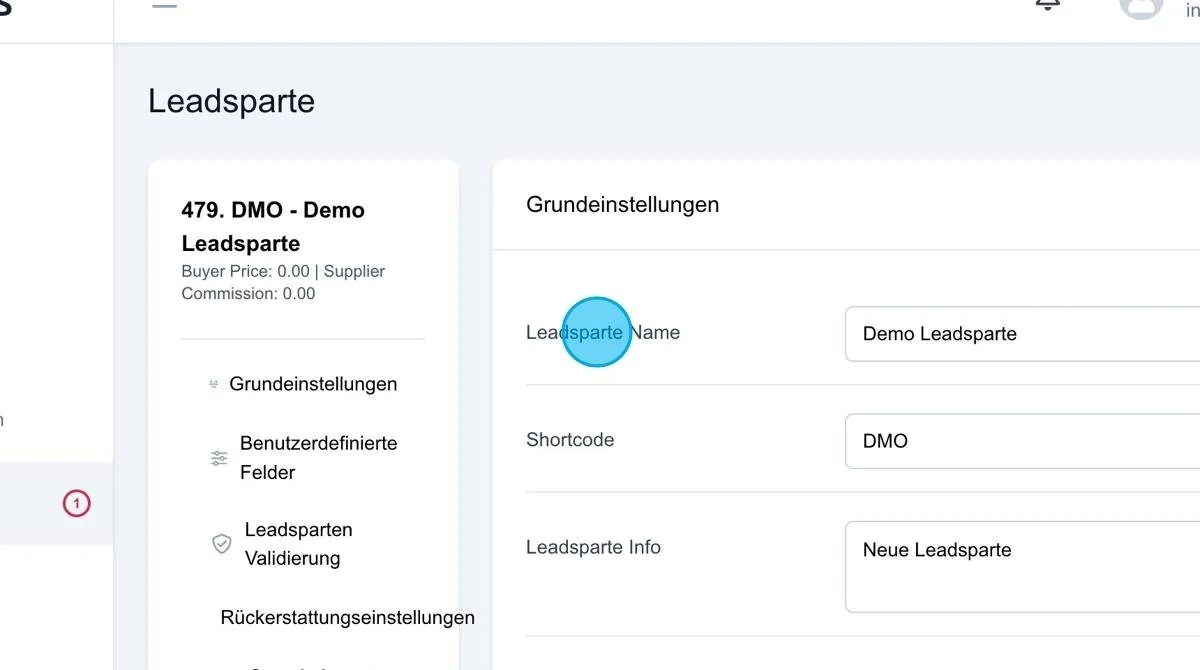
Shortcode
The shortcode of the lead type, as defined previously. It can be edited and adjusted at any time afterwards.
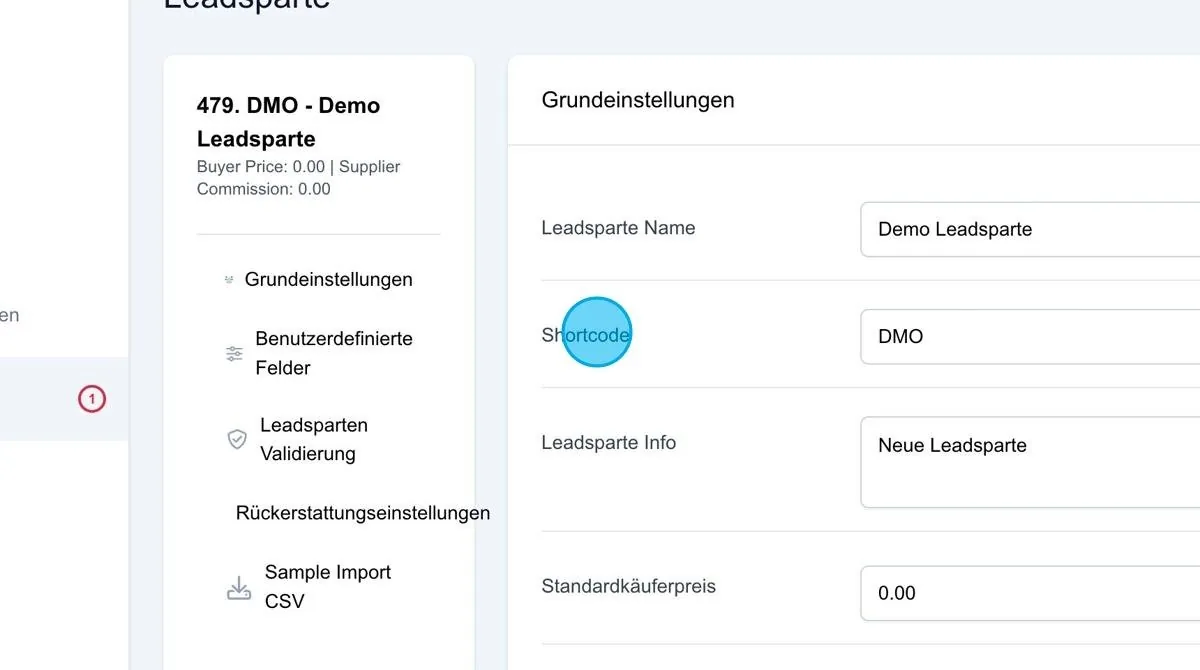
Lead type info
You can also enter a short piece of information about the lead type to describe it in more detail or add important notes.
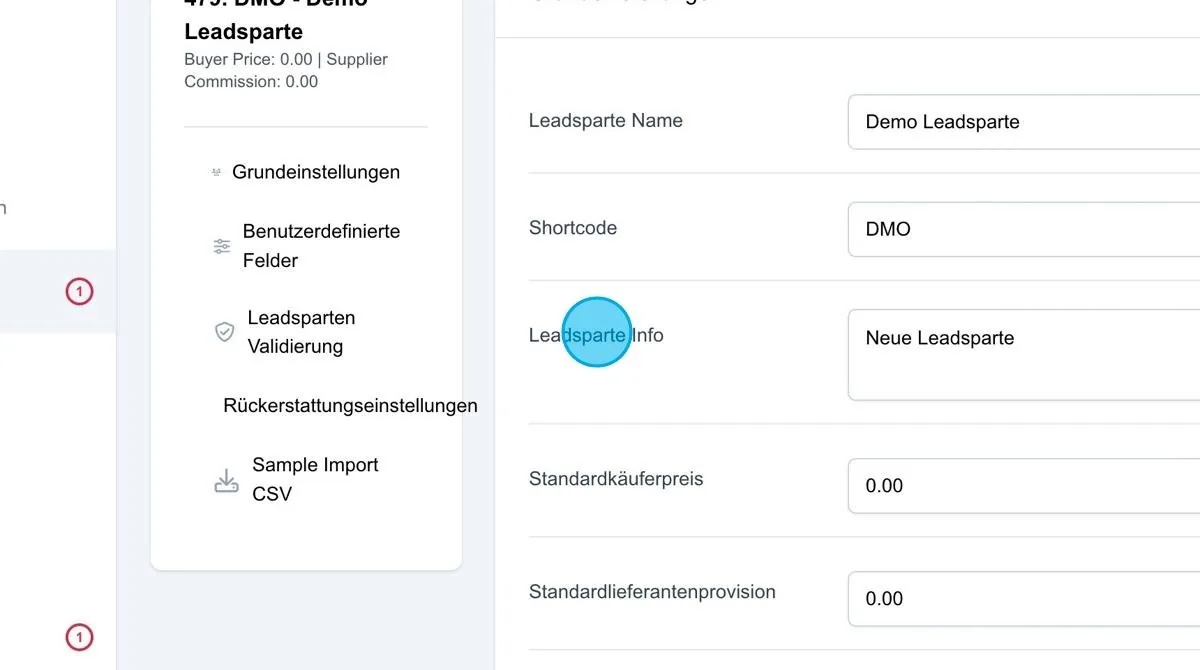
Default buyer price
In the next steps, the default buyer price can be defined. This price is applied automatically to every lead that enters the system, unless a different price has been set for an order. The default buyer price therefore serves as the basis for the selling price.
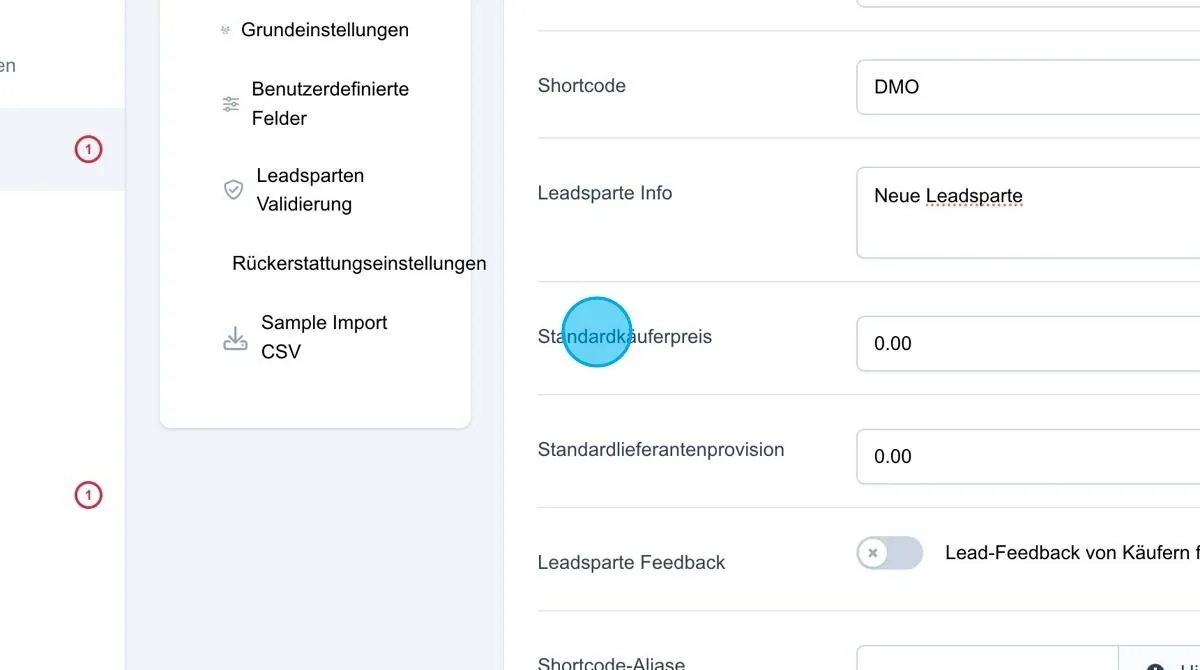
Default supplier commission
Here you can set the default supplier commission. This is the amount credited to an external supplier when a lead is delivered by them. This commission is applied by default unless individual arrangements have been made.
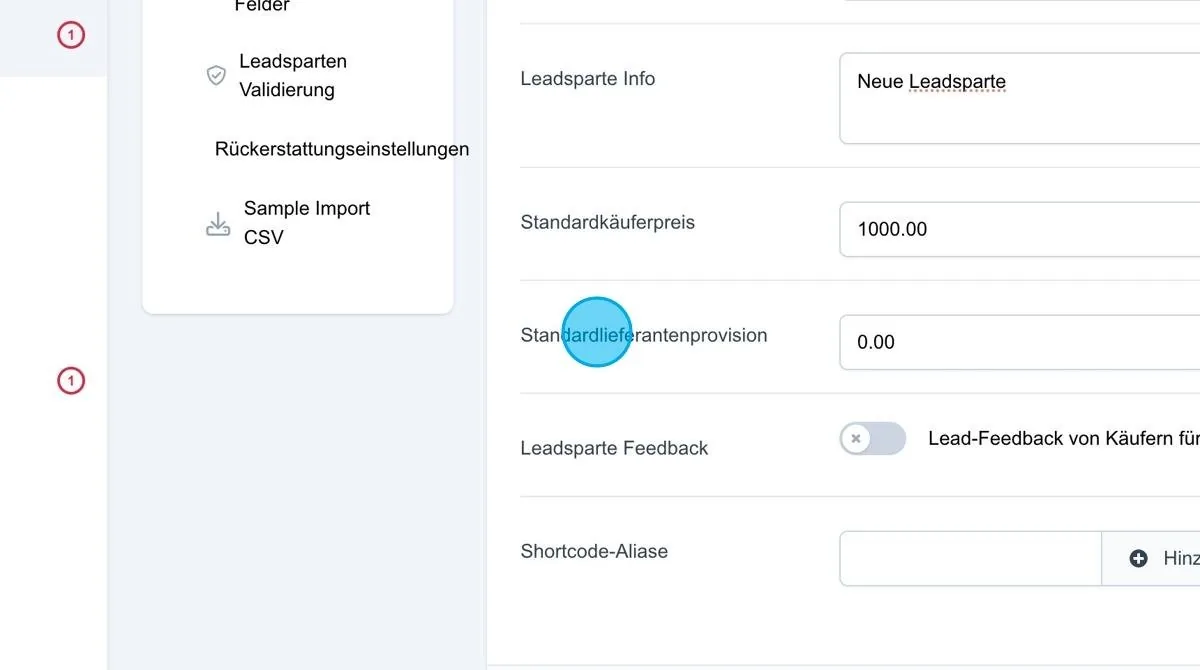
Lead type feedback function
The feedback function for the lead type can be activated in the settings. This function allows you to ask the lead buyer about the quality of the leads after a defined period. The feedback is collected via a pop-up that appears when the buyer logs in. The period after which the pop-up is shown can be set individually, for example 30 days. It is also possible to activate the function retroactively. Otherwise, the feedback request starts from the current date.
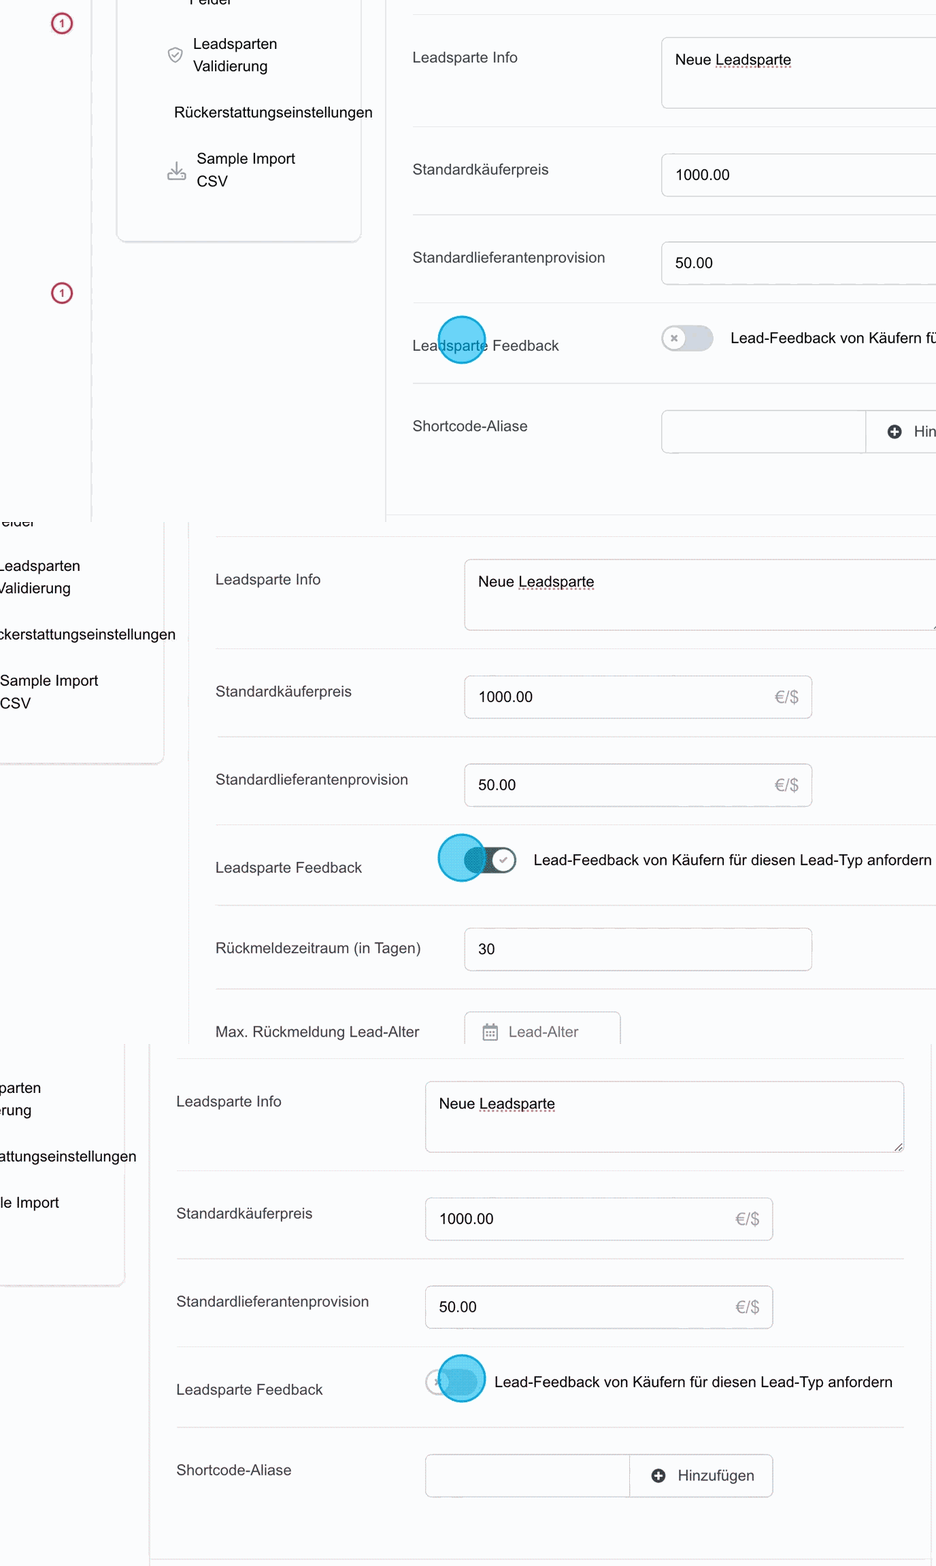
Feedback period (in days)
The period after which the pop-up is shown can be set individually, for example 30 days. It is also possible to activate the function retroactively. Otherwise, the feedback request starts from the current date.
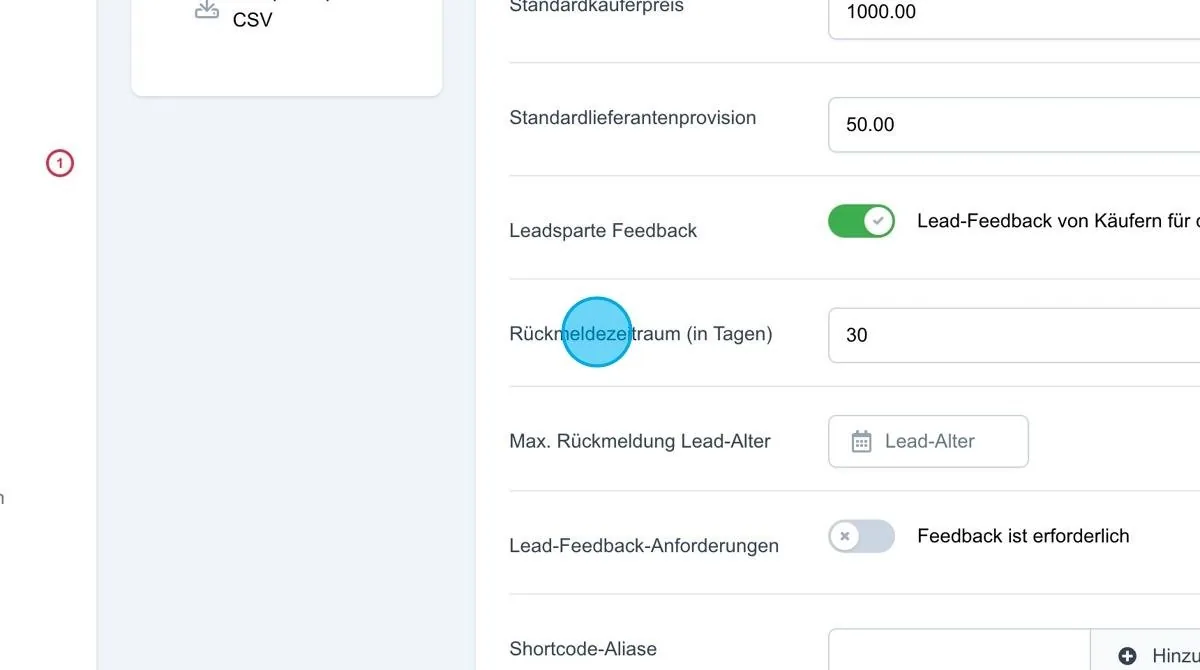
Maximum feedback lead age
If the feedback function is activated retroactively, a date must be set in the “Maximum feedback lead age” field, up to which feedback requests should be made retroactively.
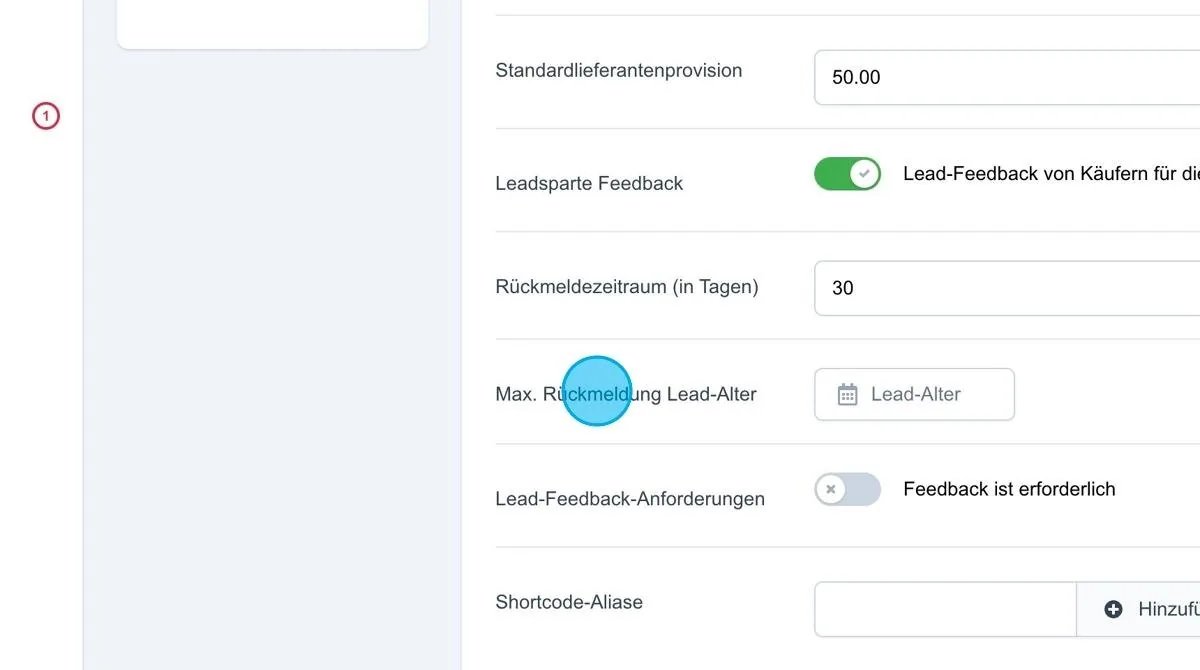
Lead feedback requirements
Feedback can also be enforced. If the “Force feedback” option is activated, a user can only continue working on the platform after giving feedback on the purchased leads. At their next login, a pop-up is shown in which they must rate the quality of the leads before they can continue.
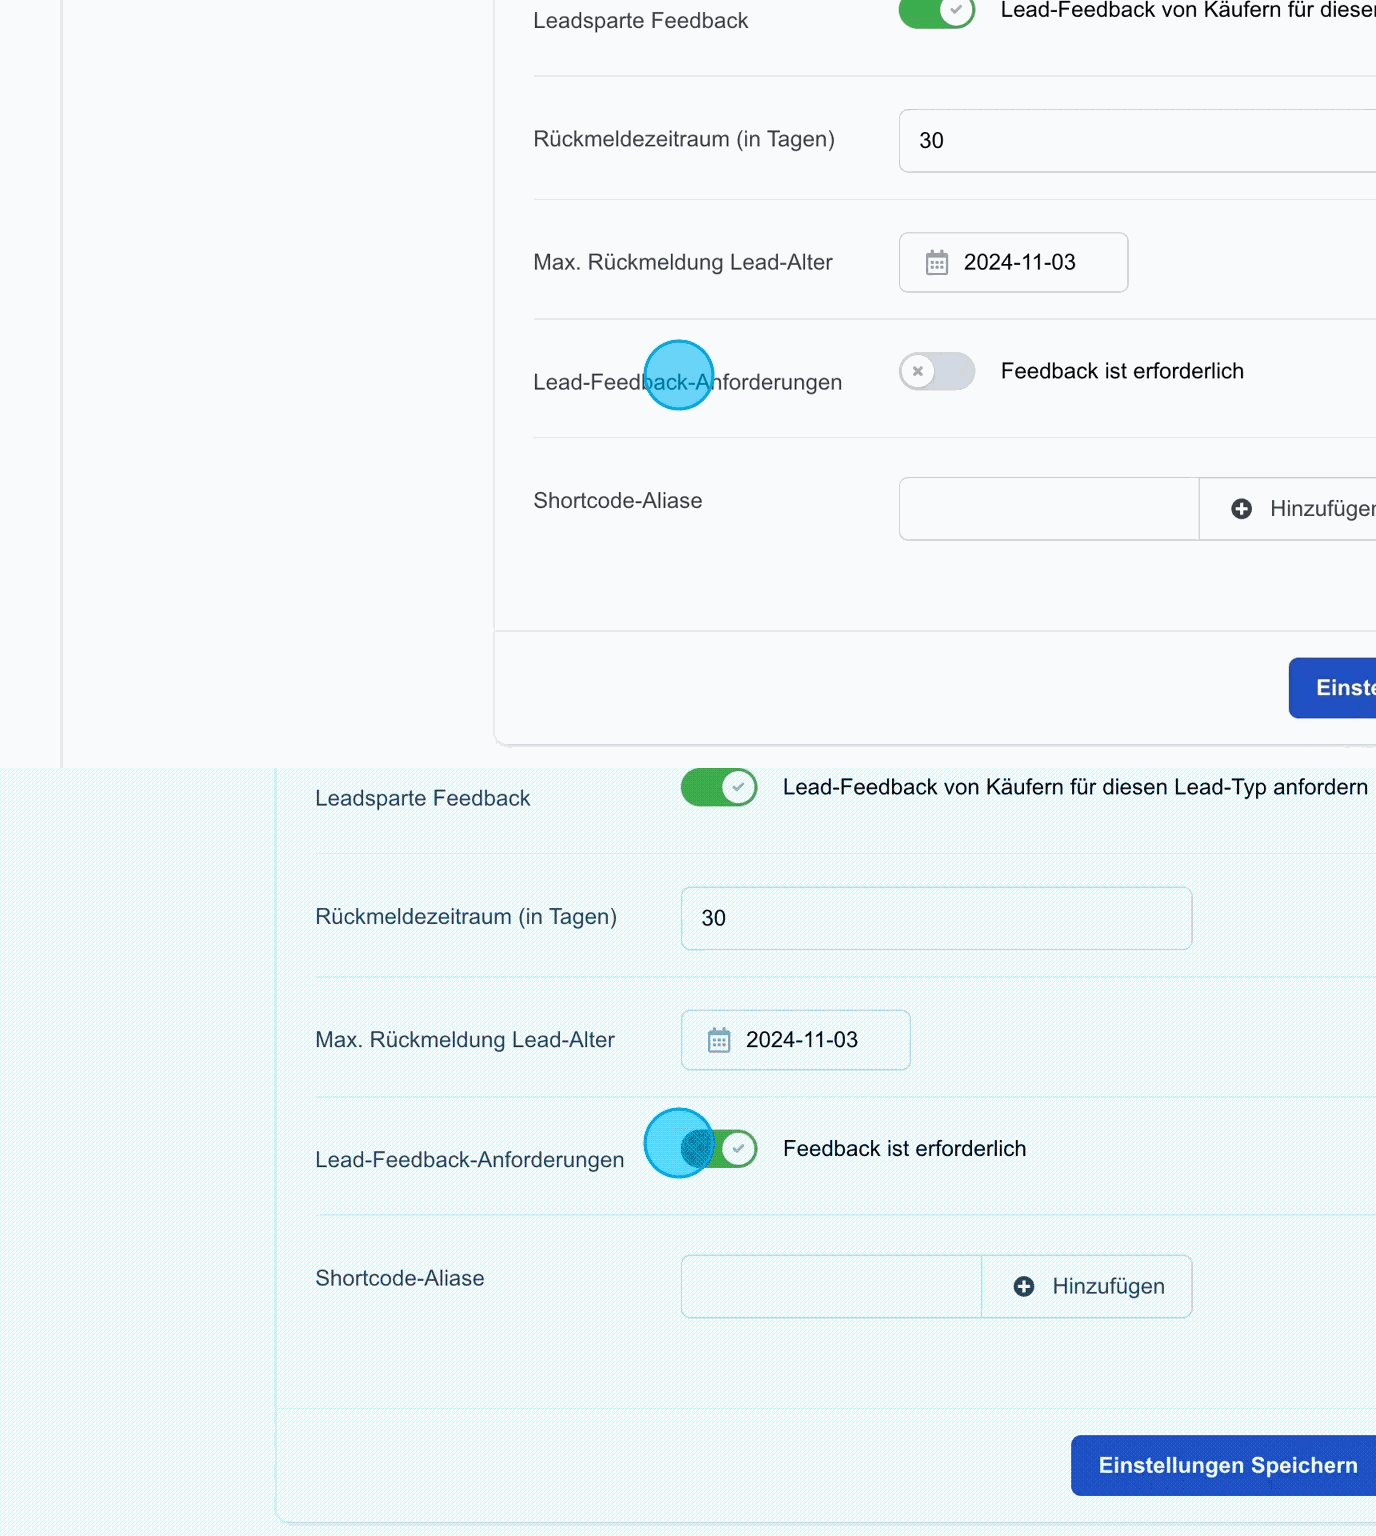
Shortcode alias
There is also the option to define a shortcode alias. This function is particularly helpful when leads are delivered by several suppliers who use different designations for the same lead type.
For example, the shortcode “DMO” could be added for the lead type “Demo”. If another supplier refers to this lead type as “DM”, the alias allows the leads to be assigned to the correct lead type automatically. This enables seamless assignment and consistency when processing leads.
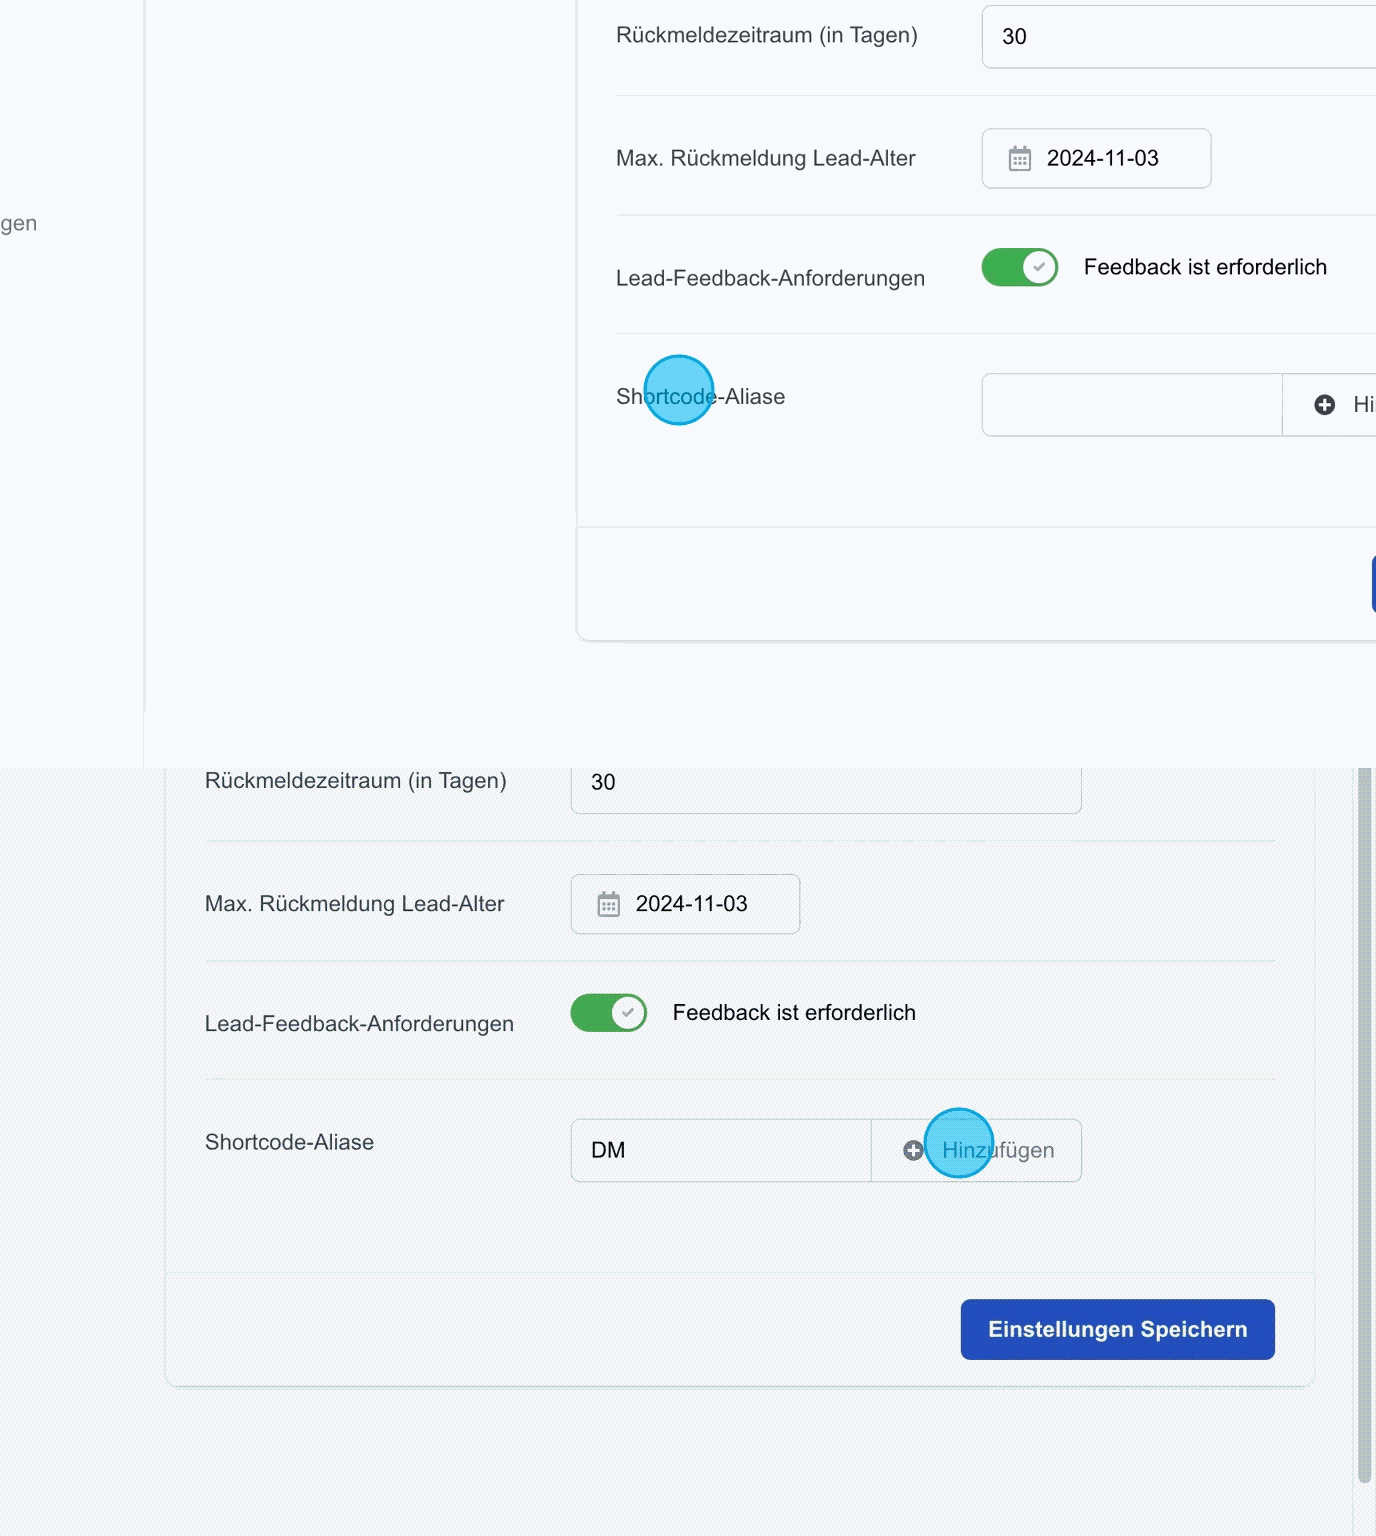
Save settings: Clicking the “Save settings” button finalises and saves all basic settings made for the new lead type.