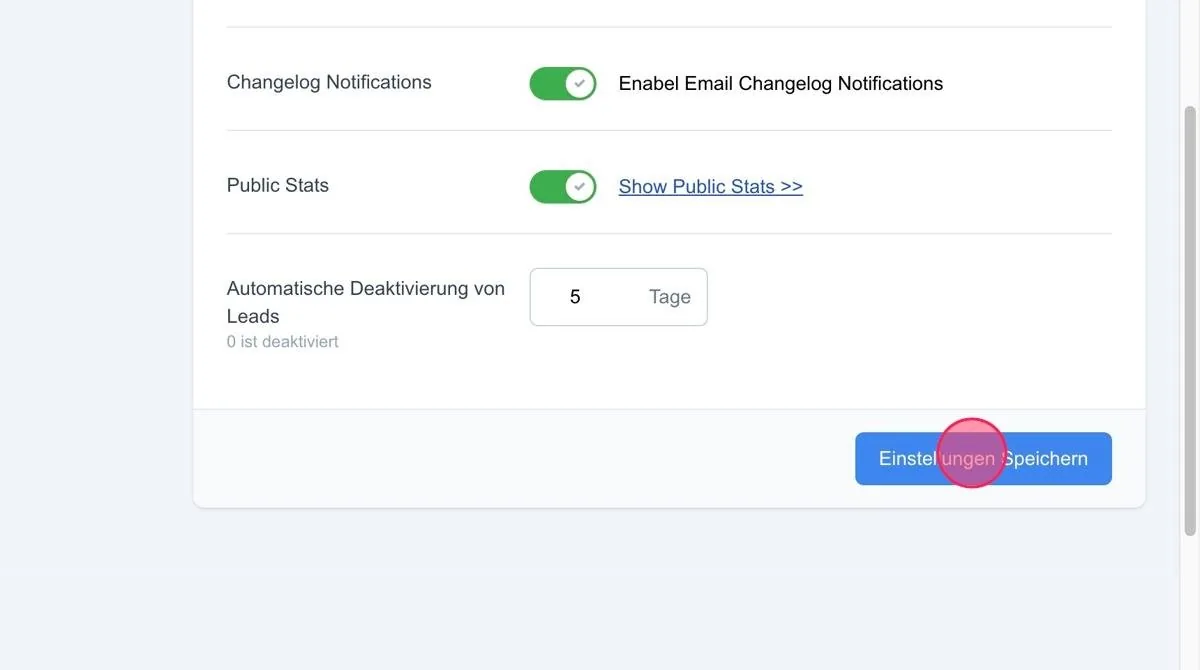
In this section you can enter all basic information relating to your contact details, which also appear on the emails, invoices etc. that are sent from Leadnodes to customers or partners.
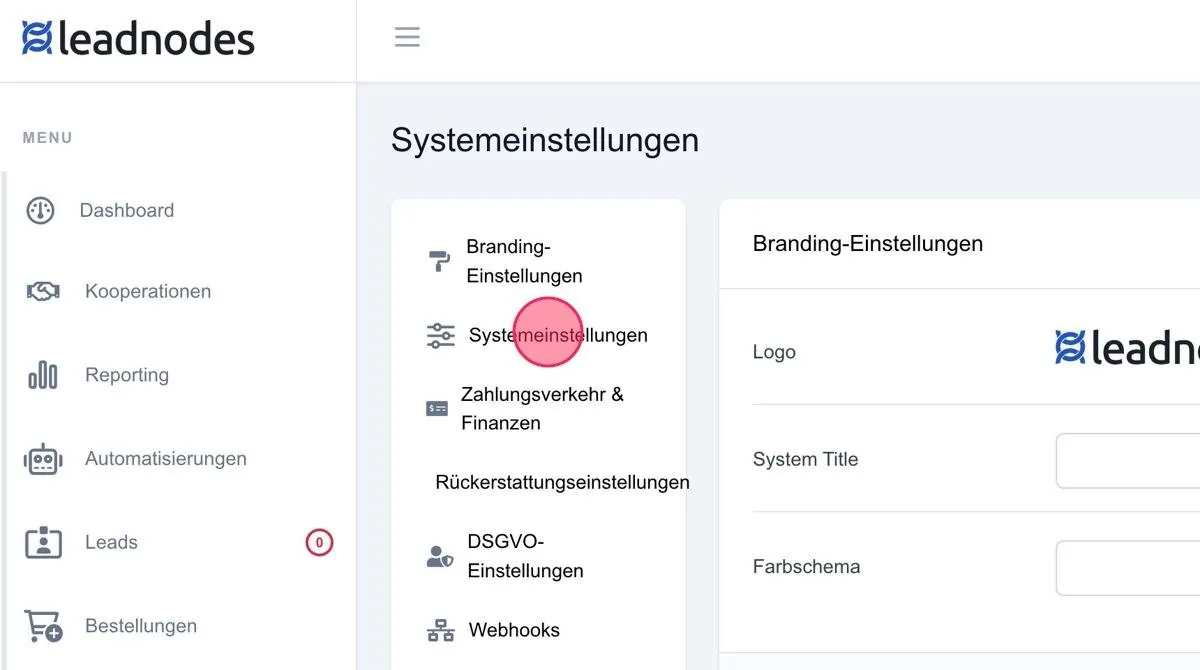
Customer contact phone
Enter the phone number your customers can use to reach you. This number will also be visible in the footer of the emails sent.
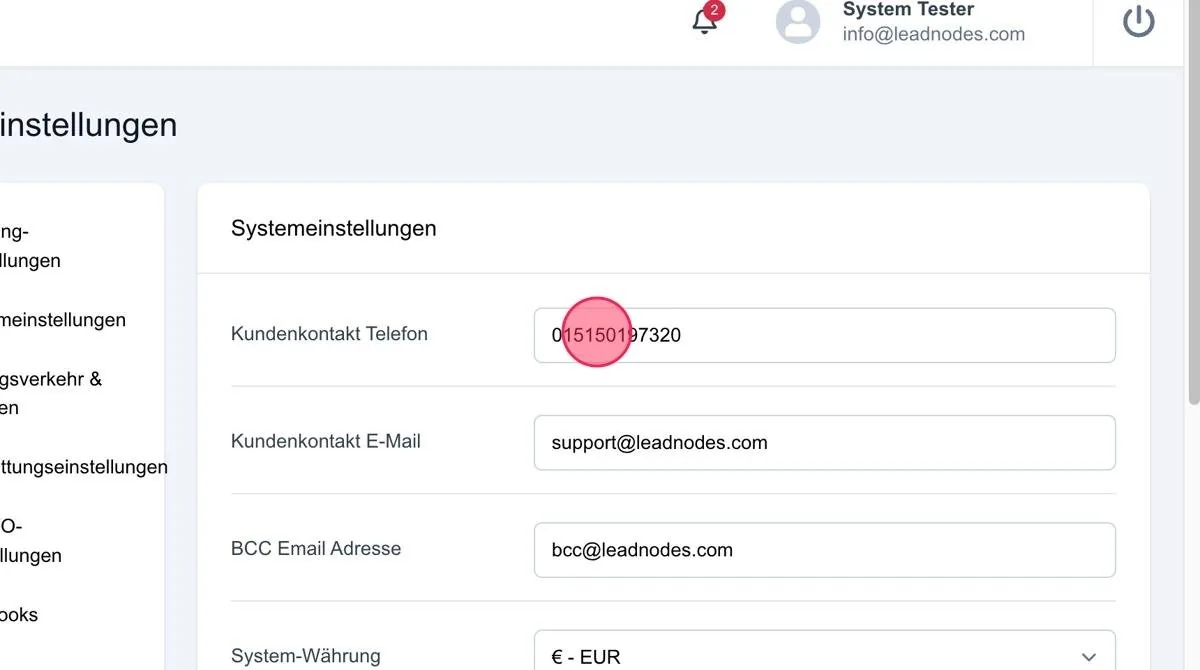
Customer contact email
Enter the email address customers can use to contact you. It is advisable to name this email address “support@”. This email address will also be visible in the footer of the messages.
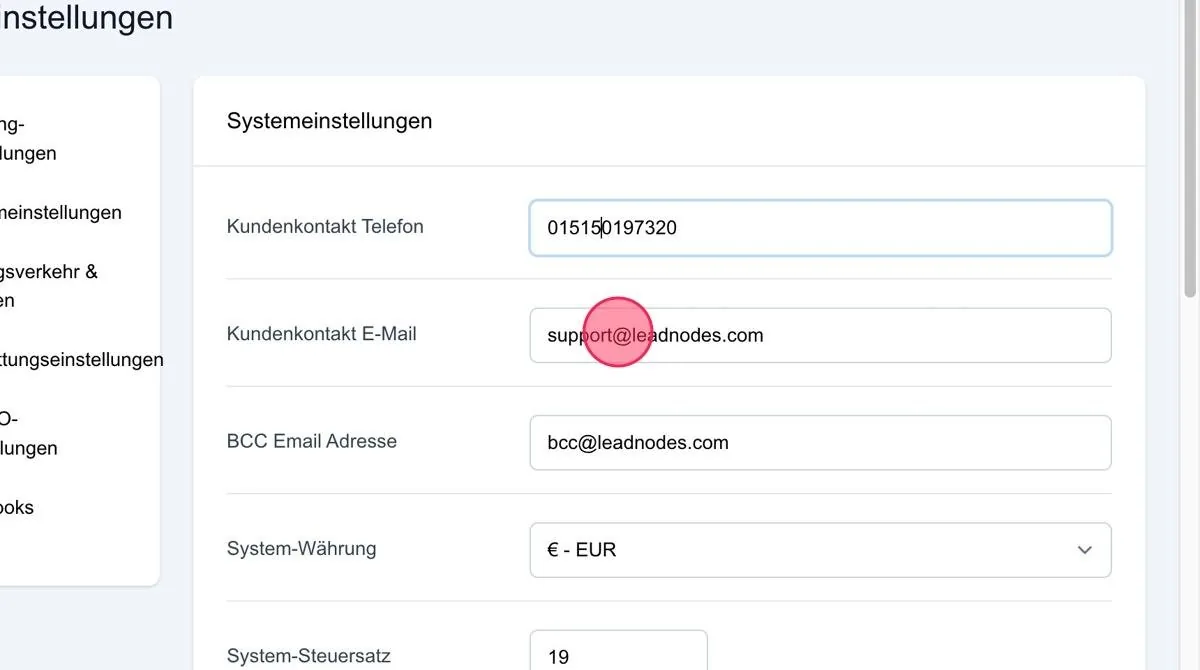
BCC email address
As a safety measure, a BCC email address can be used to verify that the email has successfully reached the customer.
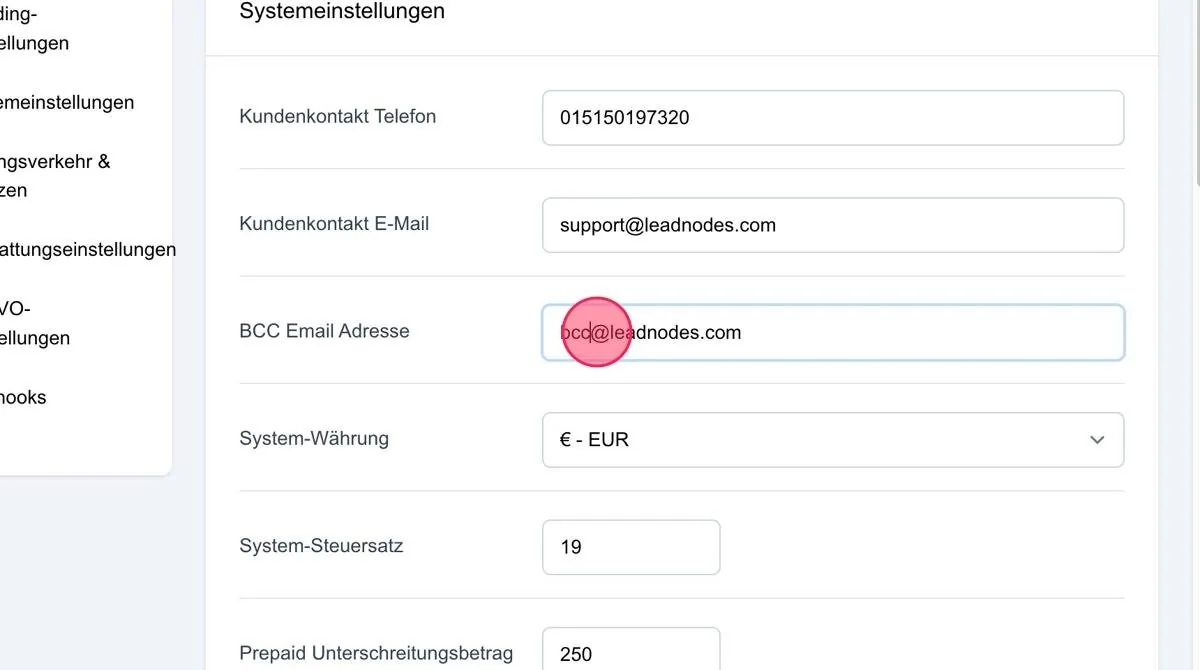
System currency
“€-EUR” is already entered here as the currency. If you work in $, you can change it to “$-USD” via the down arrow.
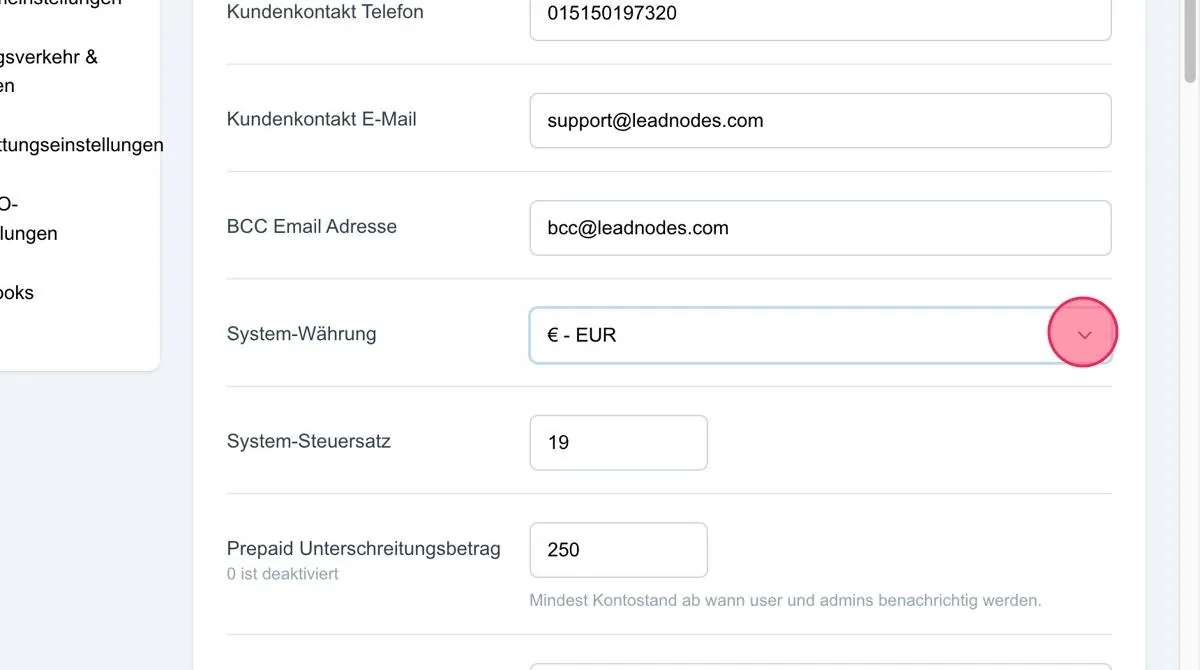
System tax rate
In the basic setup, the tax rate is set to 19 %. It can be adjusted here according to the tax rate of the country you are located in.
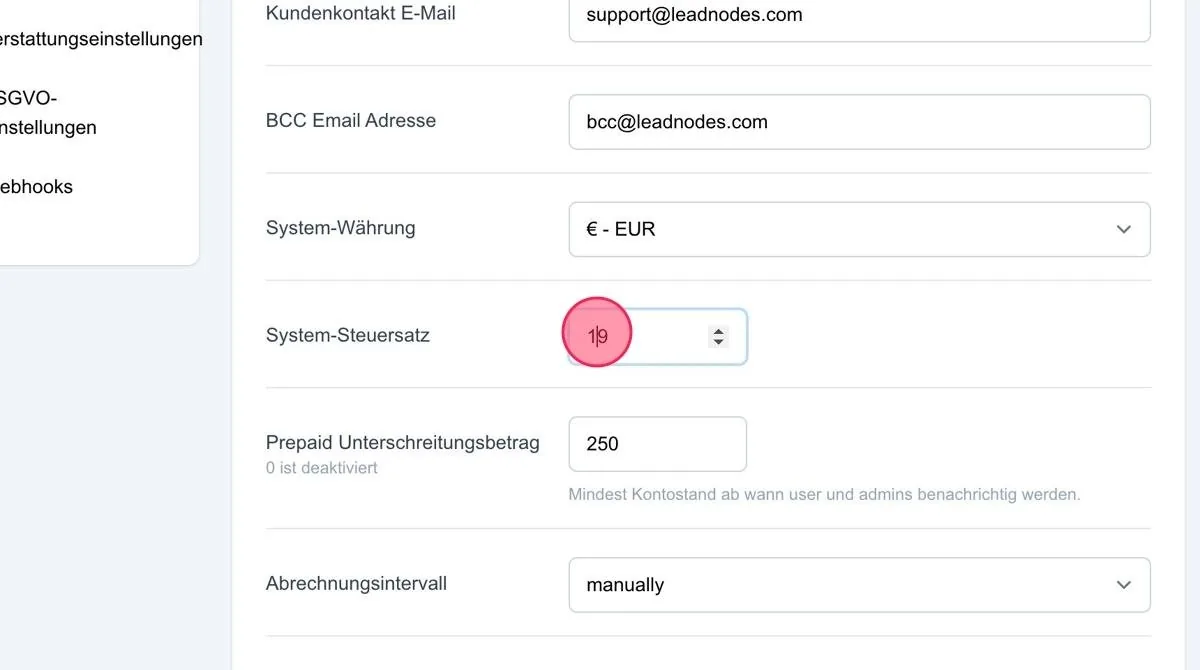
Prepaid low-balance amount
If your users work with prepaid accounts, you can set a desired minimum amount here. As soon as this amount is reached, both the user and the administrator are notified by email. Example: “Please top up your account soon, otherwise no further leads can be purchased.”
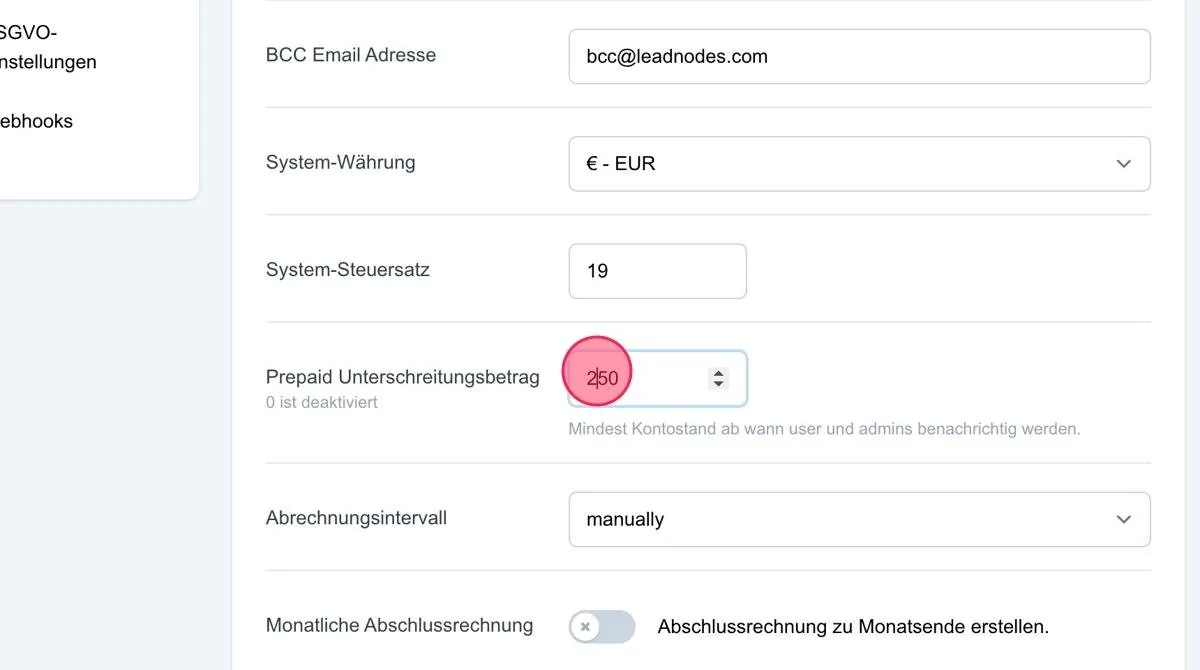
Billing interval
In the basic settings, the mode is set to “manual” so that you can carry out billing manually. It is recommended to keep this setting until the system is fully configured. You can then set the desired billing interval via the arrow at the side. Leadnodes then carries out billing automatically at this interval.
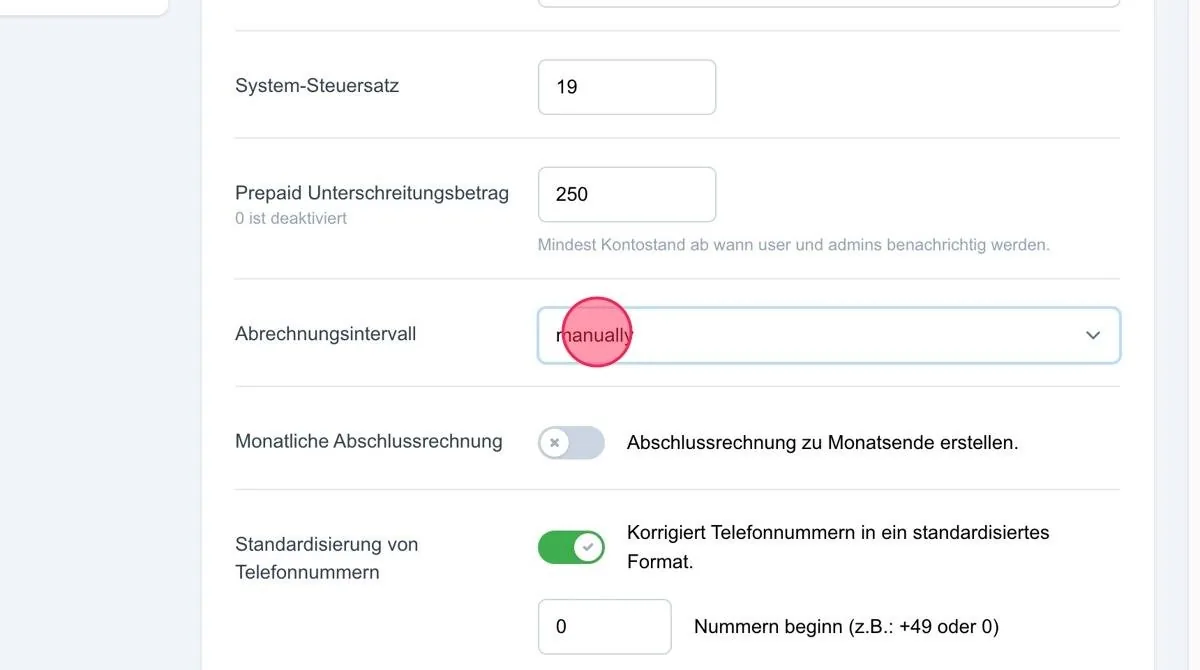
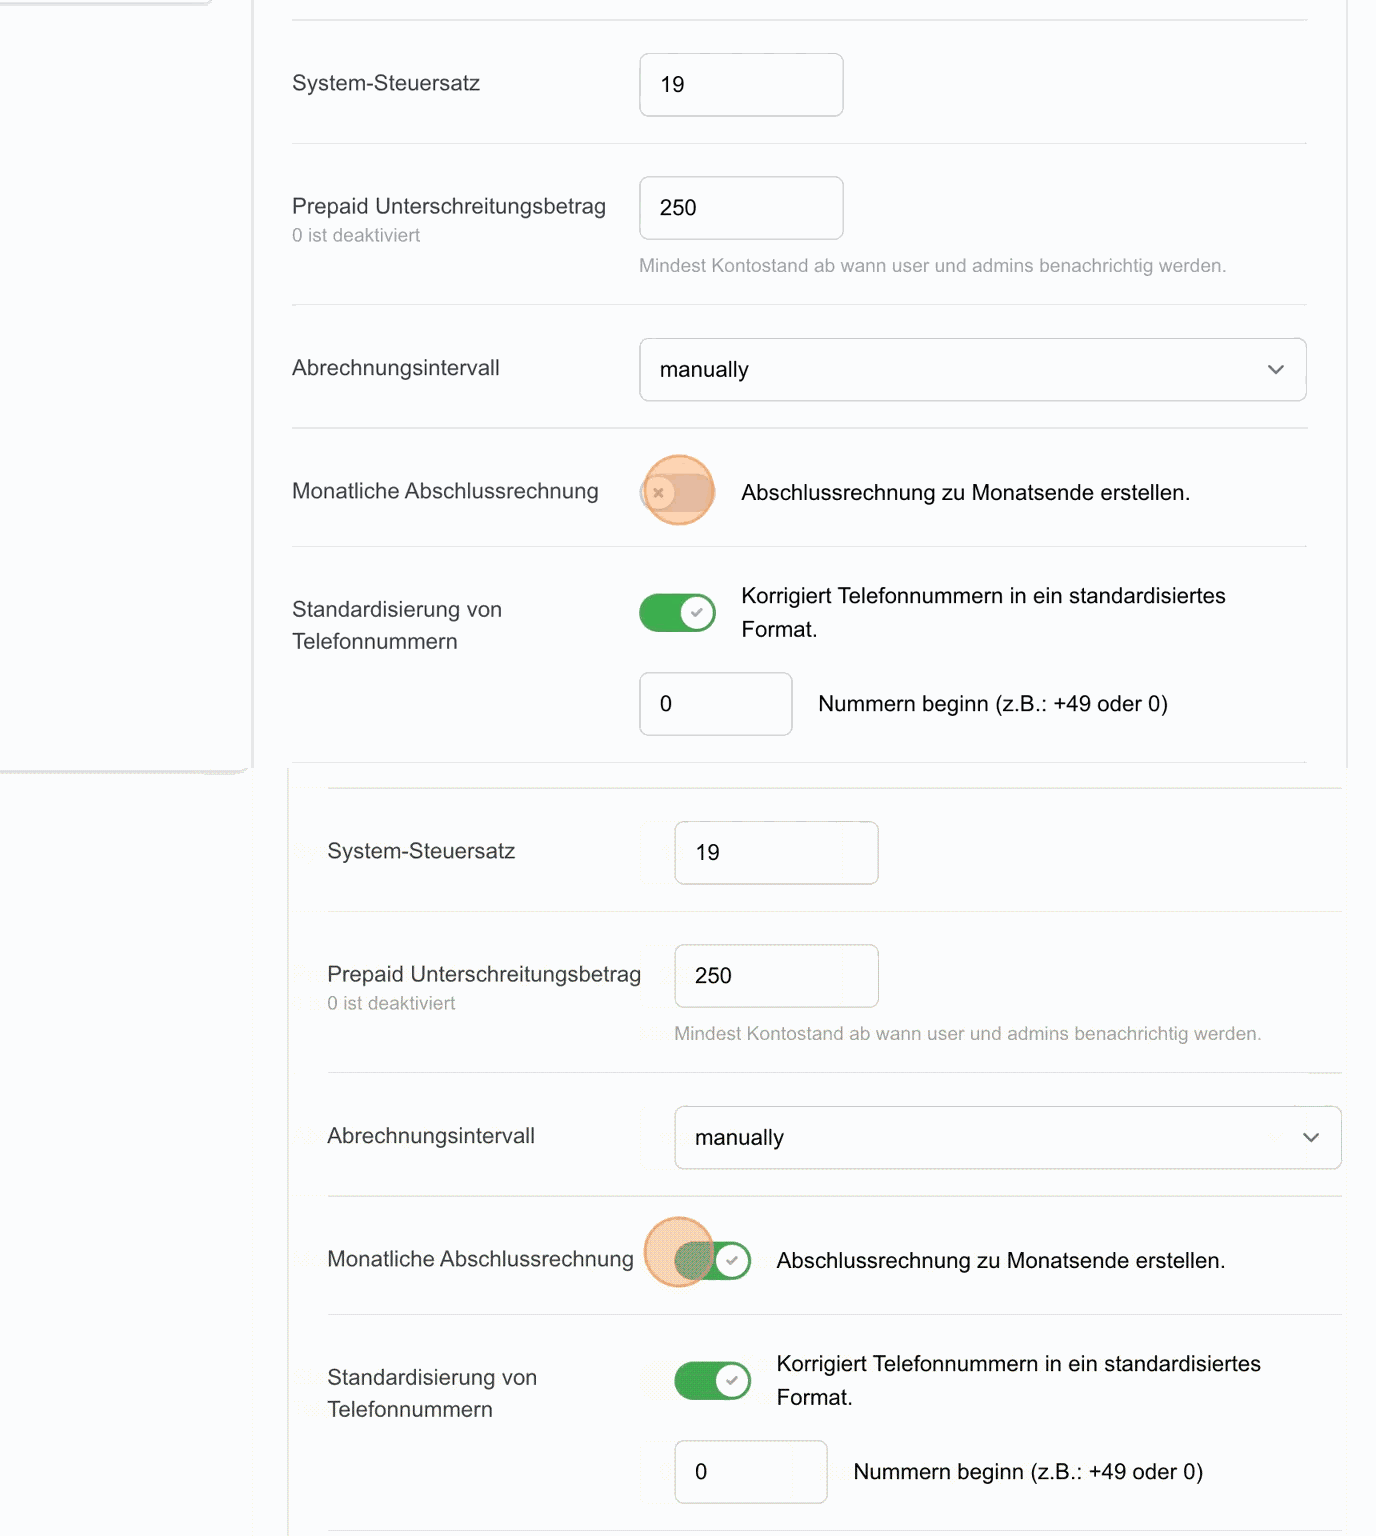
Monthly closing invoice
You can activate this option here if a comprehensive monthly invoice is required for accounting. This can be useful, for example, if the billing interval is weekly or daily.
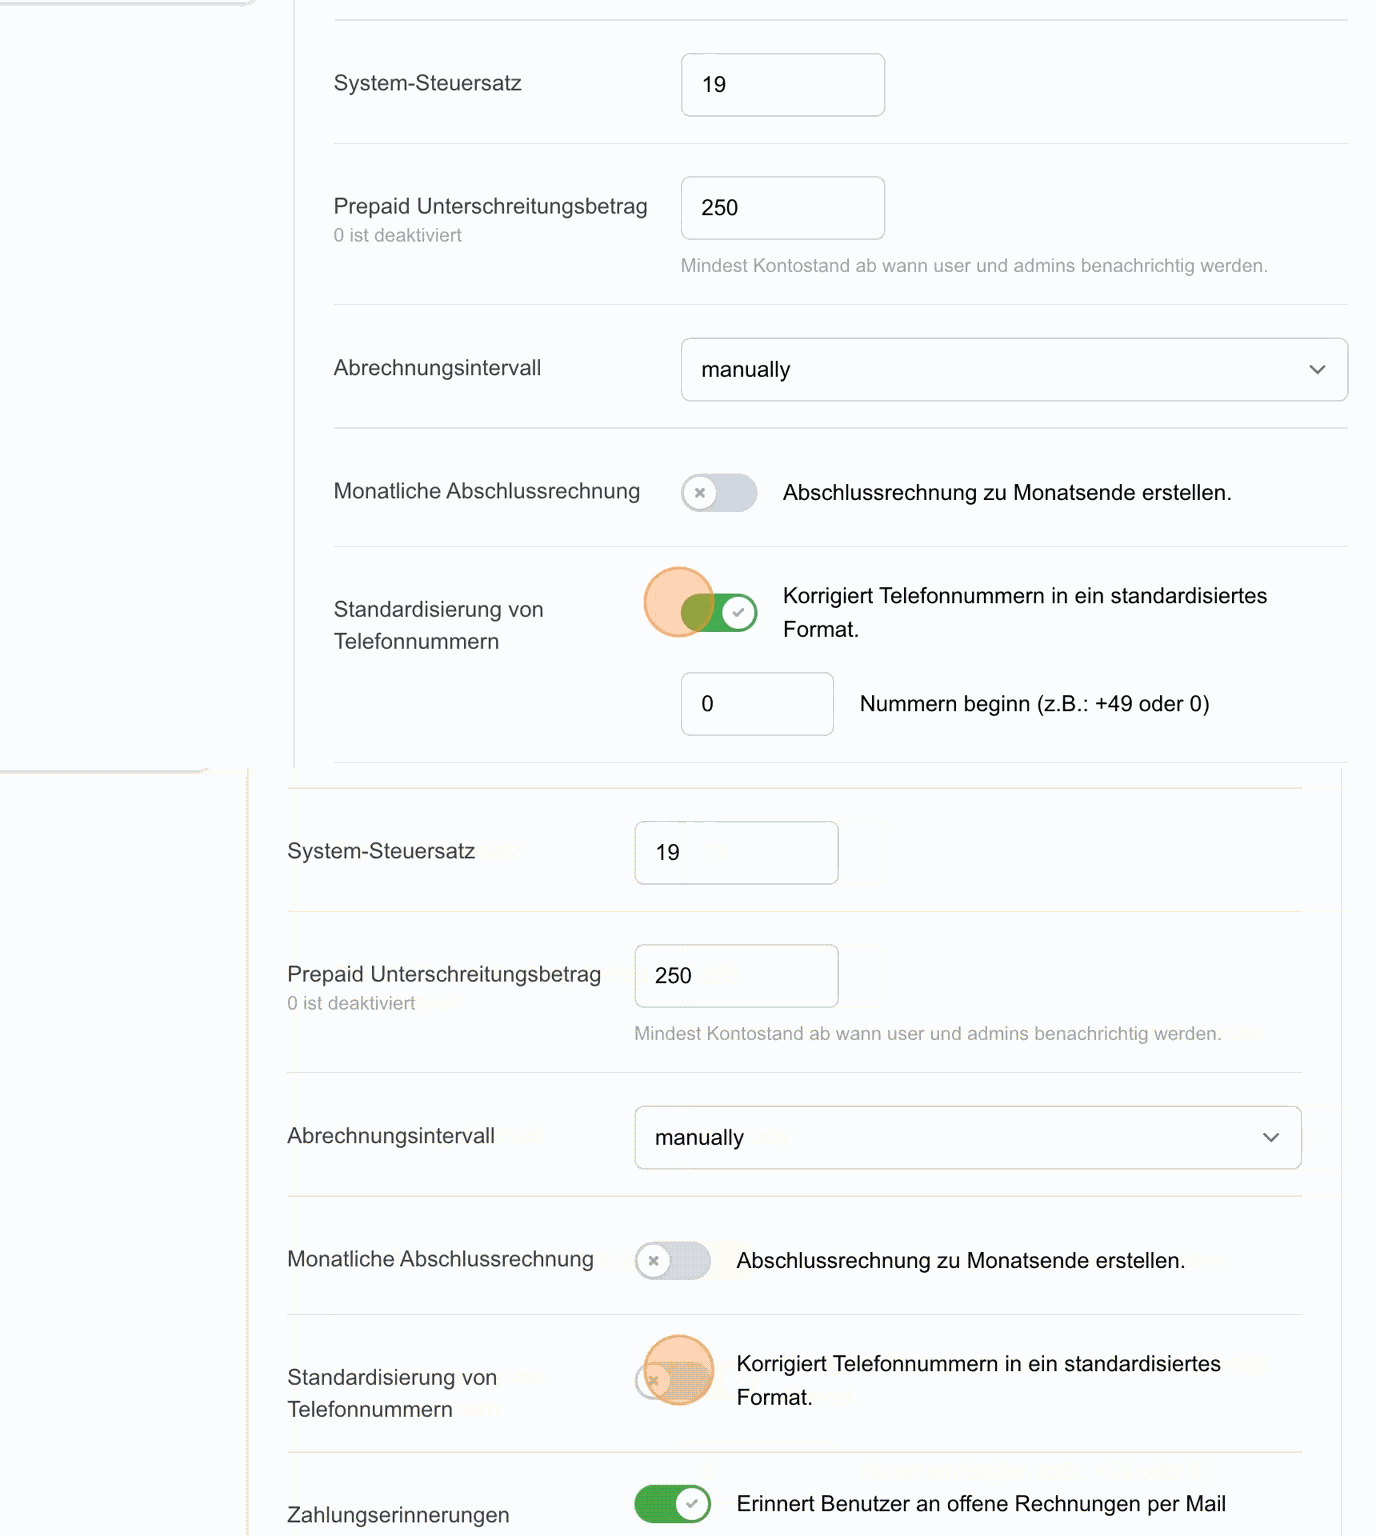
Standardisation of phone numbers
If you activate the option for corrected phone numbers in a standardised format, you can specify in the field below which prefix (e.g. +49 or 0) the numbers should start with. Incoming leads with phone numbers are then corrected automatically and displayed uniformly in the system.
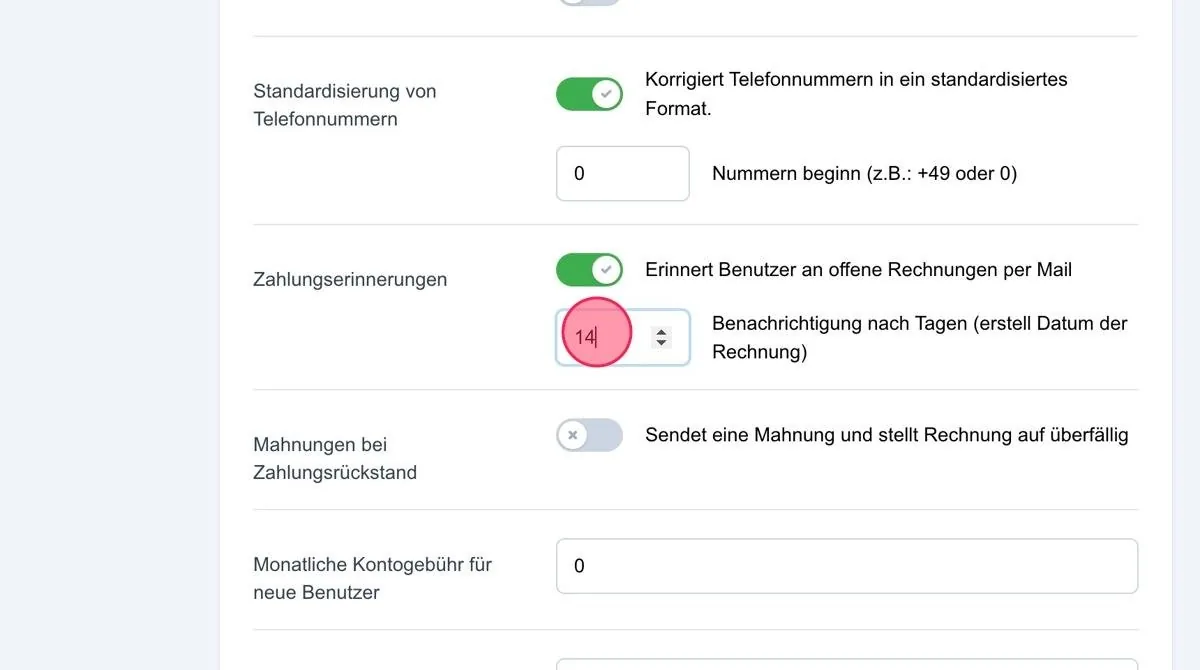
Payment reminders
Here you can define after what period the customer should receive a payment reminder if the invoice sent from the system has not yet been paid.
Dunning letters for overdue payments
This is a more forceful reminder of outstanding invoices. Here you can define when the first dunning letter should be sent to the customer after the invoice.
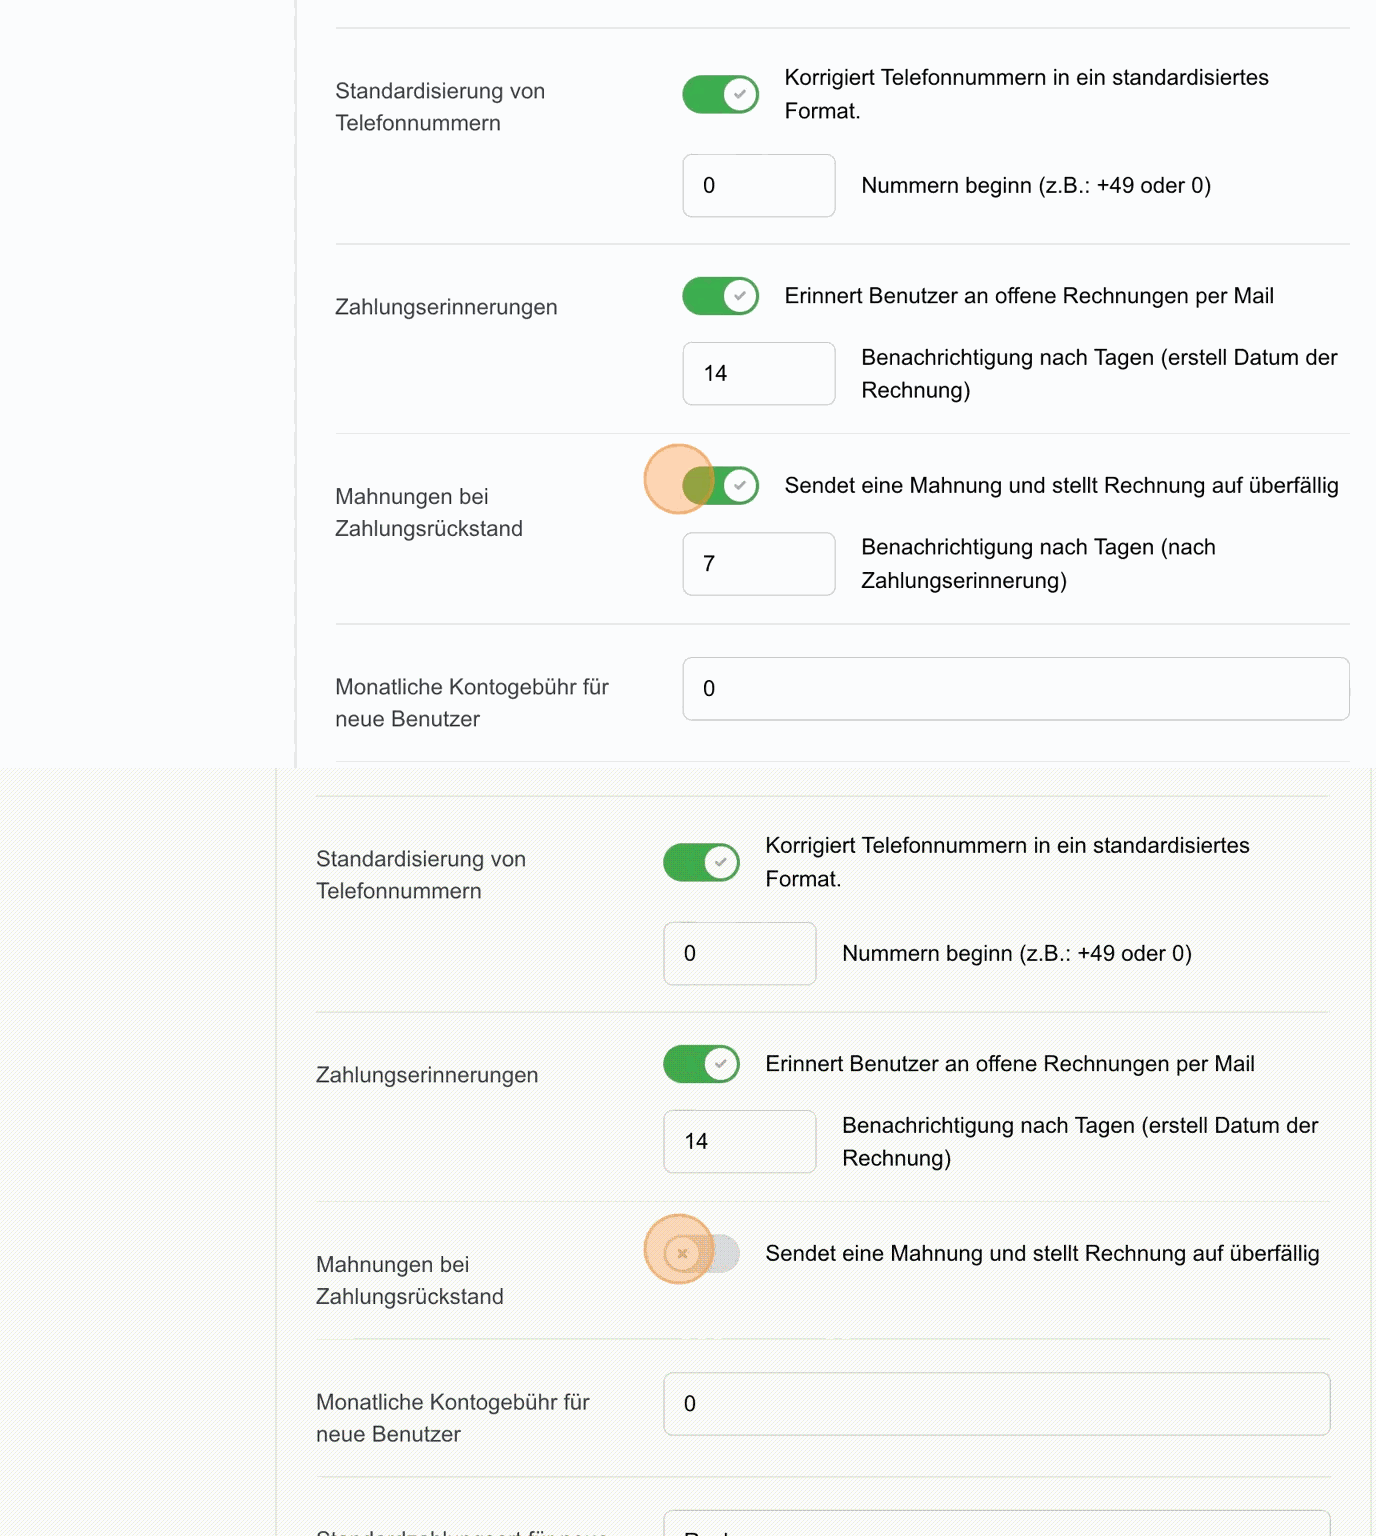
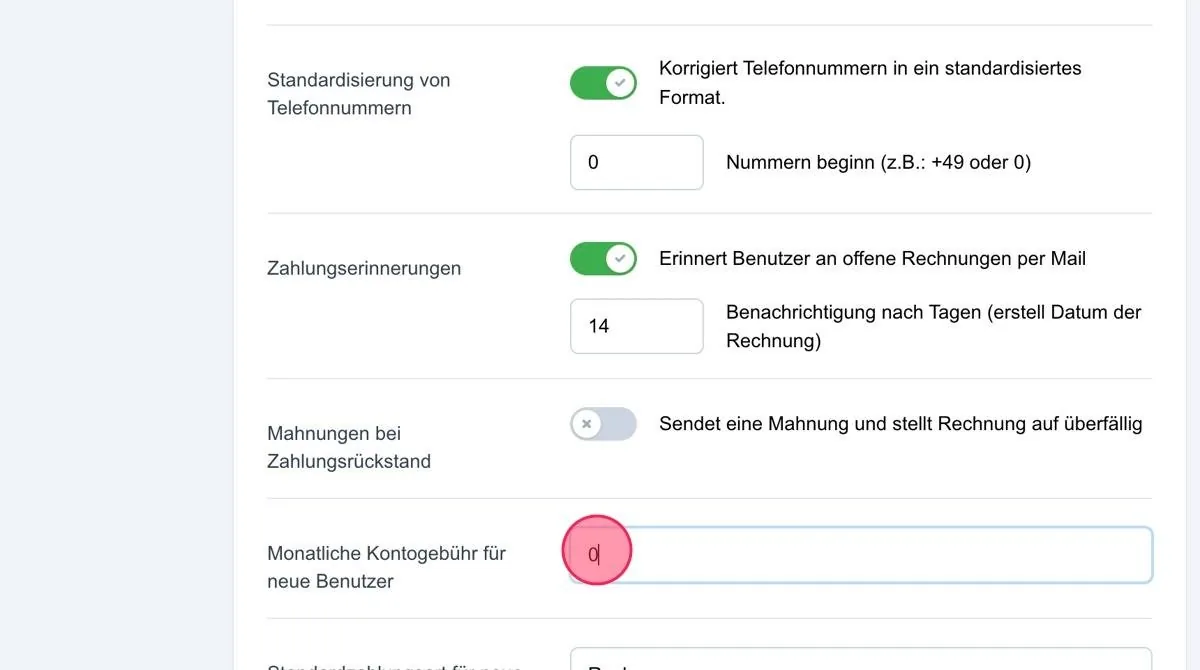
Monthly account fee for new users
Here you can define the monthly account fee for your users. (In the basic settings, this is set to 0.)
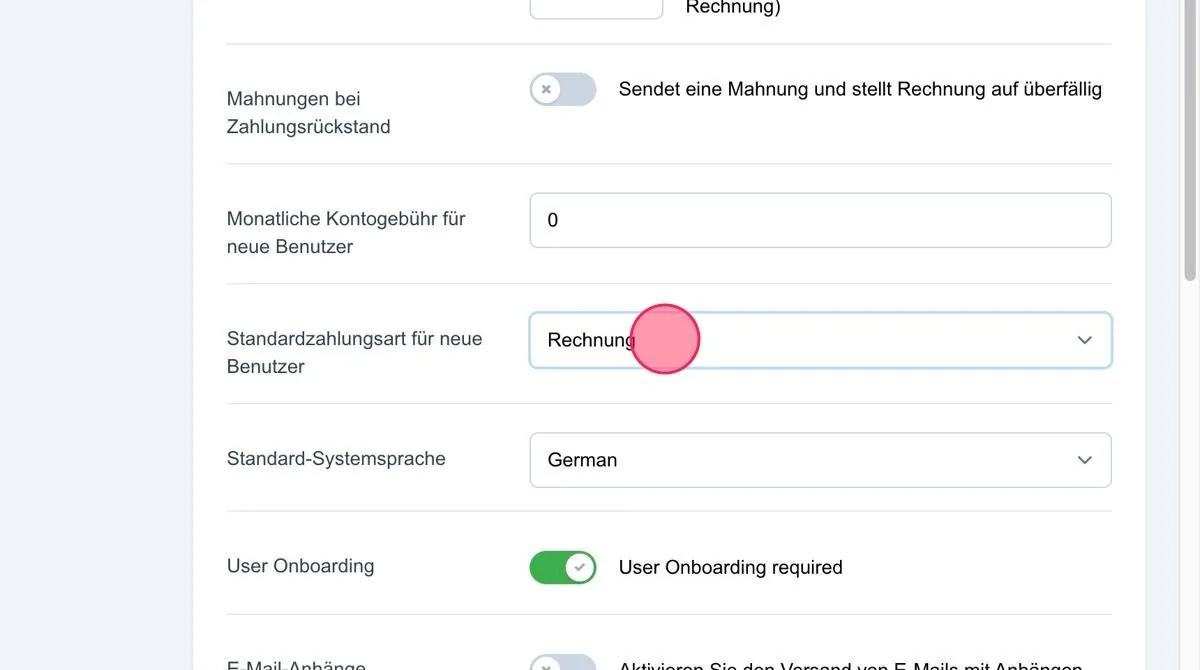
Default payment method for users
In this section you can define the payment method for users. “Invoice” is selected by default, but you can switch to “Prepaid” via the down arrow if you work exclusively with advance payment.
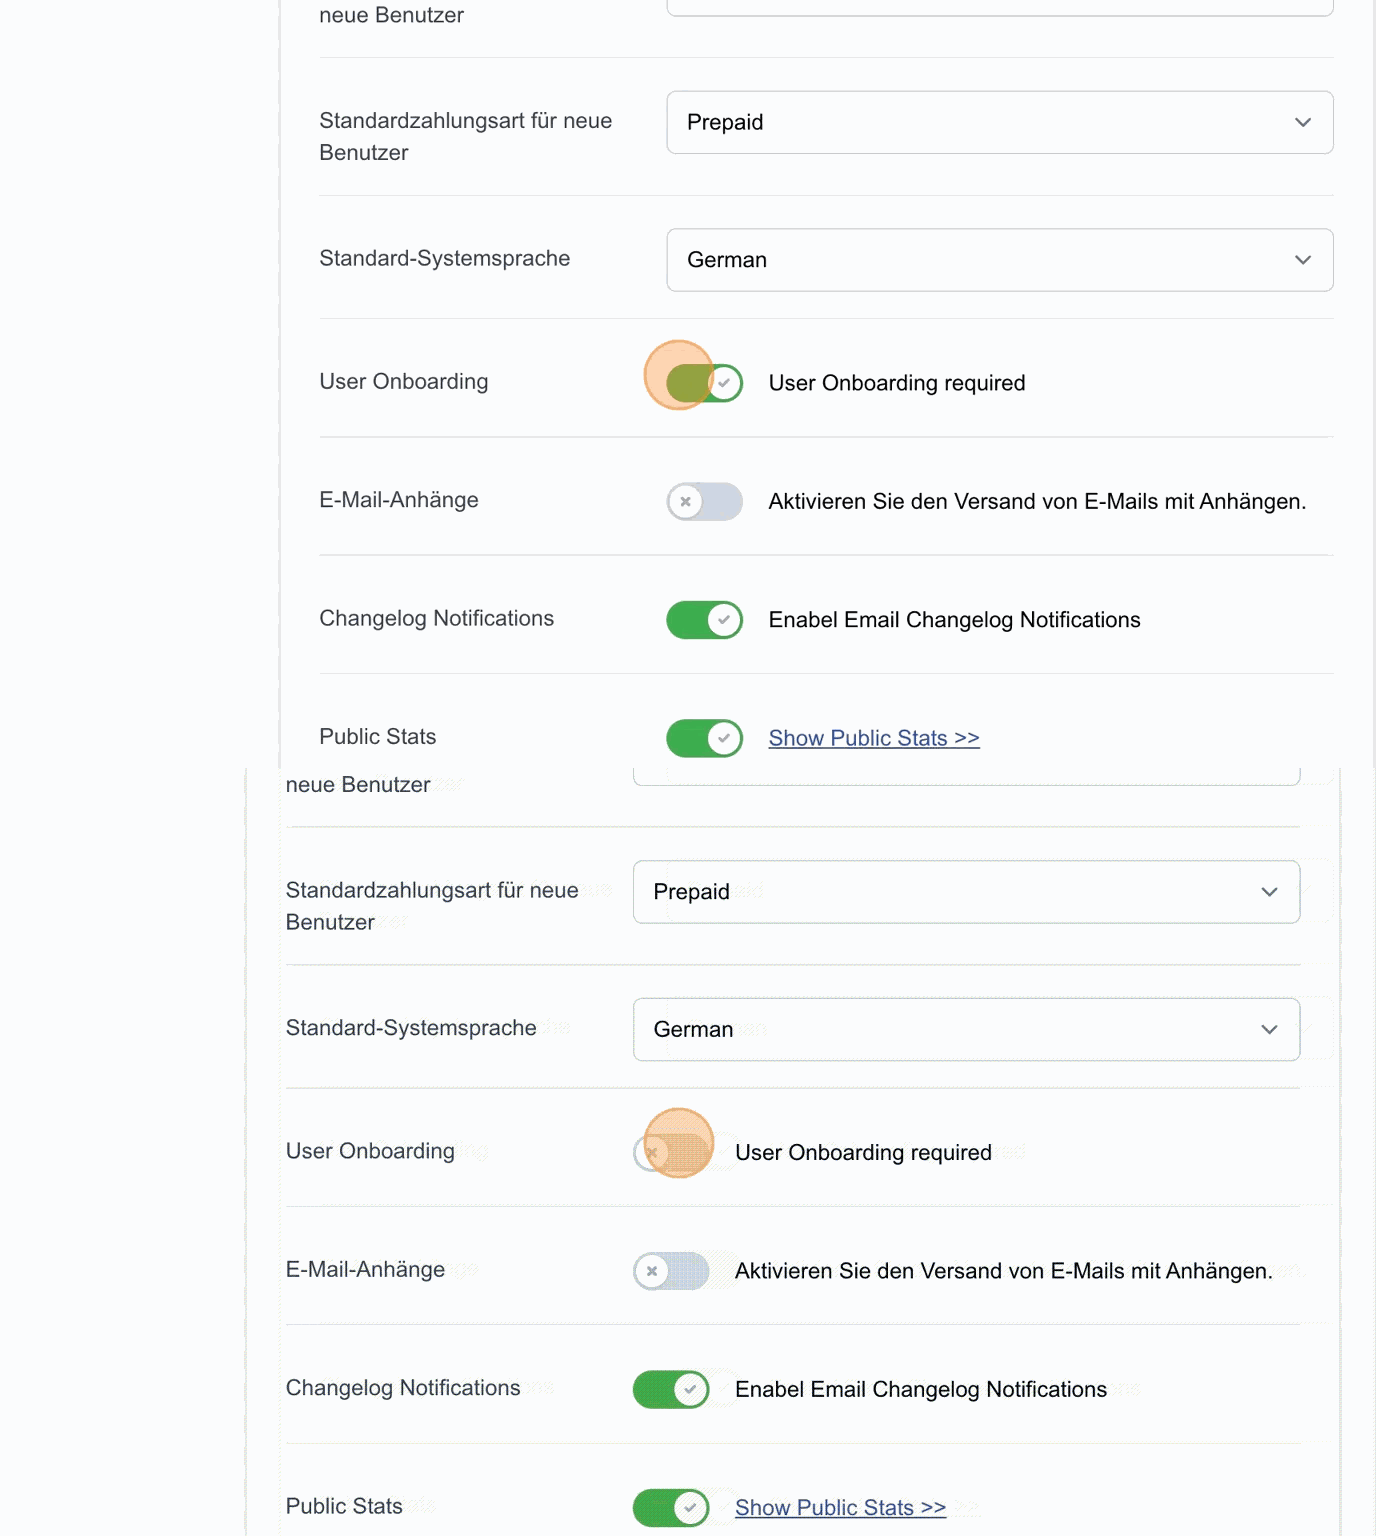
User Onboarding
By activating “User Onboarding”, all newly added users go through a guide that explains how to create new leads, which data is required, etc.
Default system language
In this section you can set the system display to German or English.
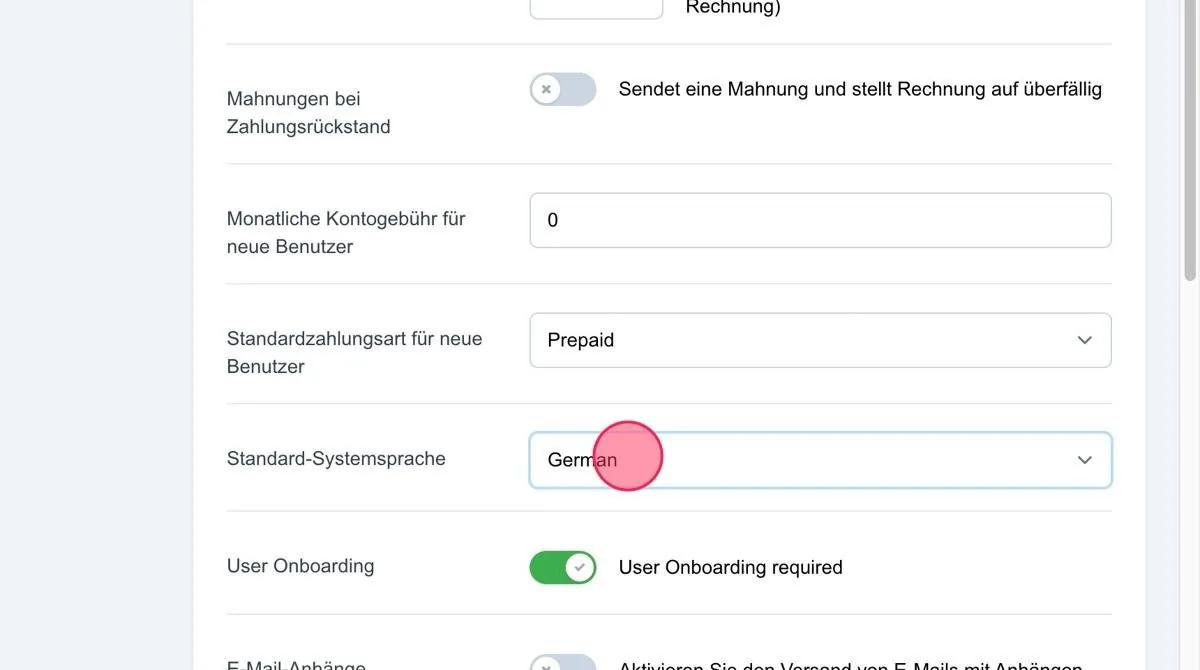
Enable email attachments
When activated, PDFs can be attached to emails, e.g. for sending invoices.
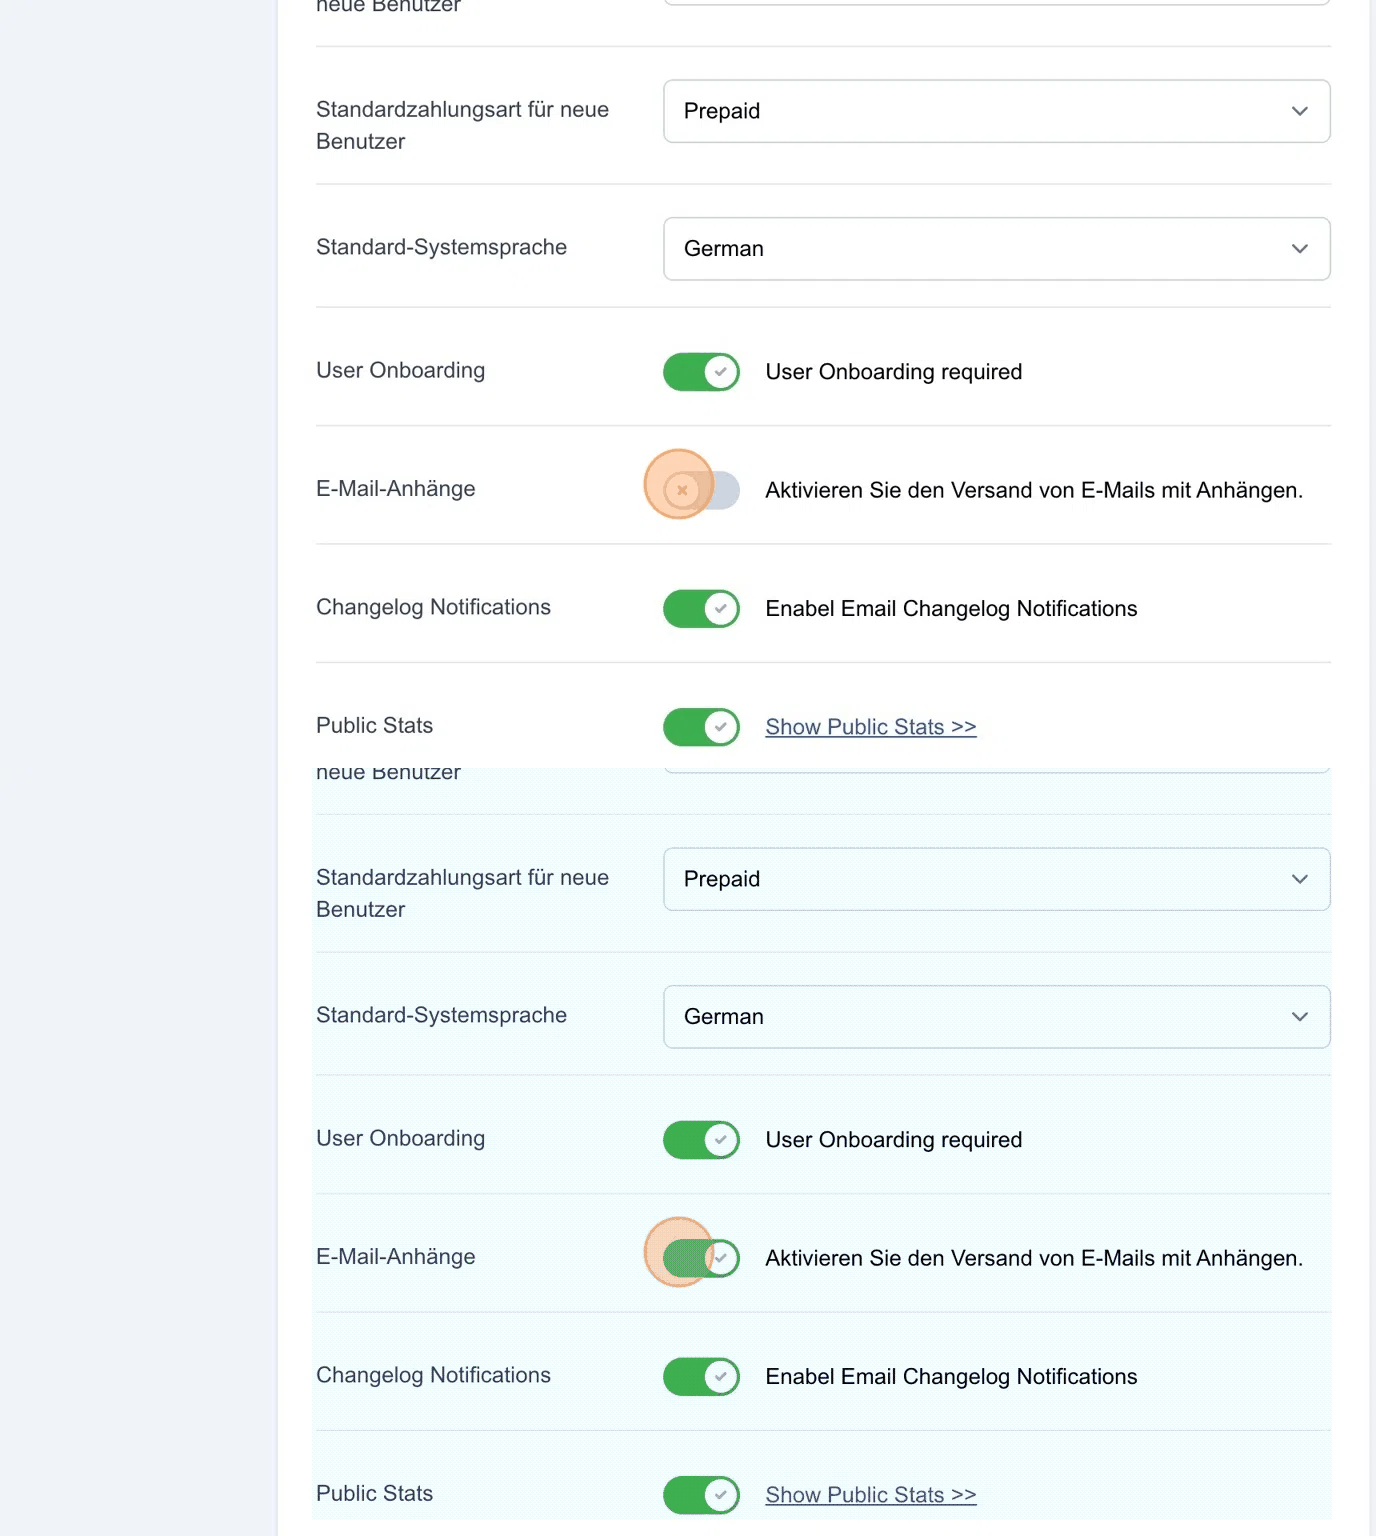
Changelog notifications
When activated, you receive notifications about new changes in the system.
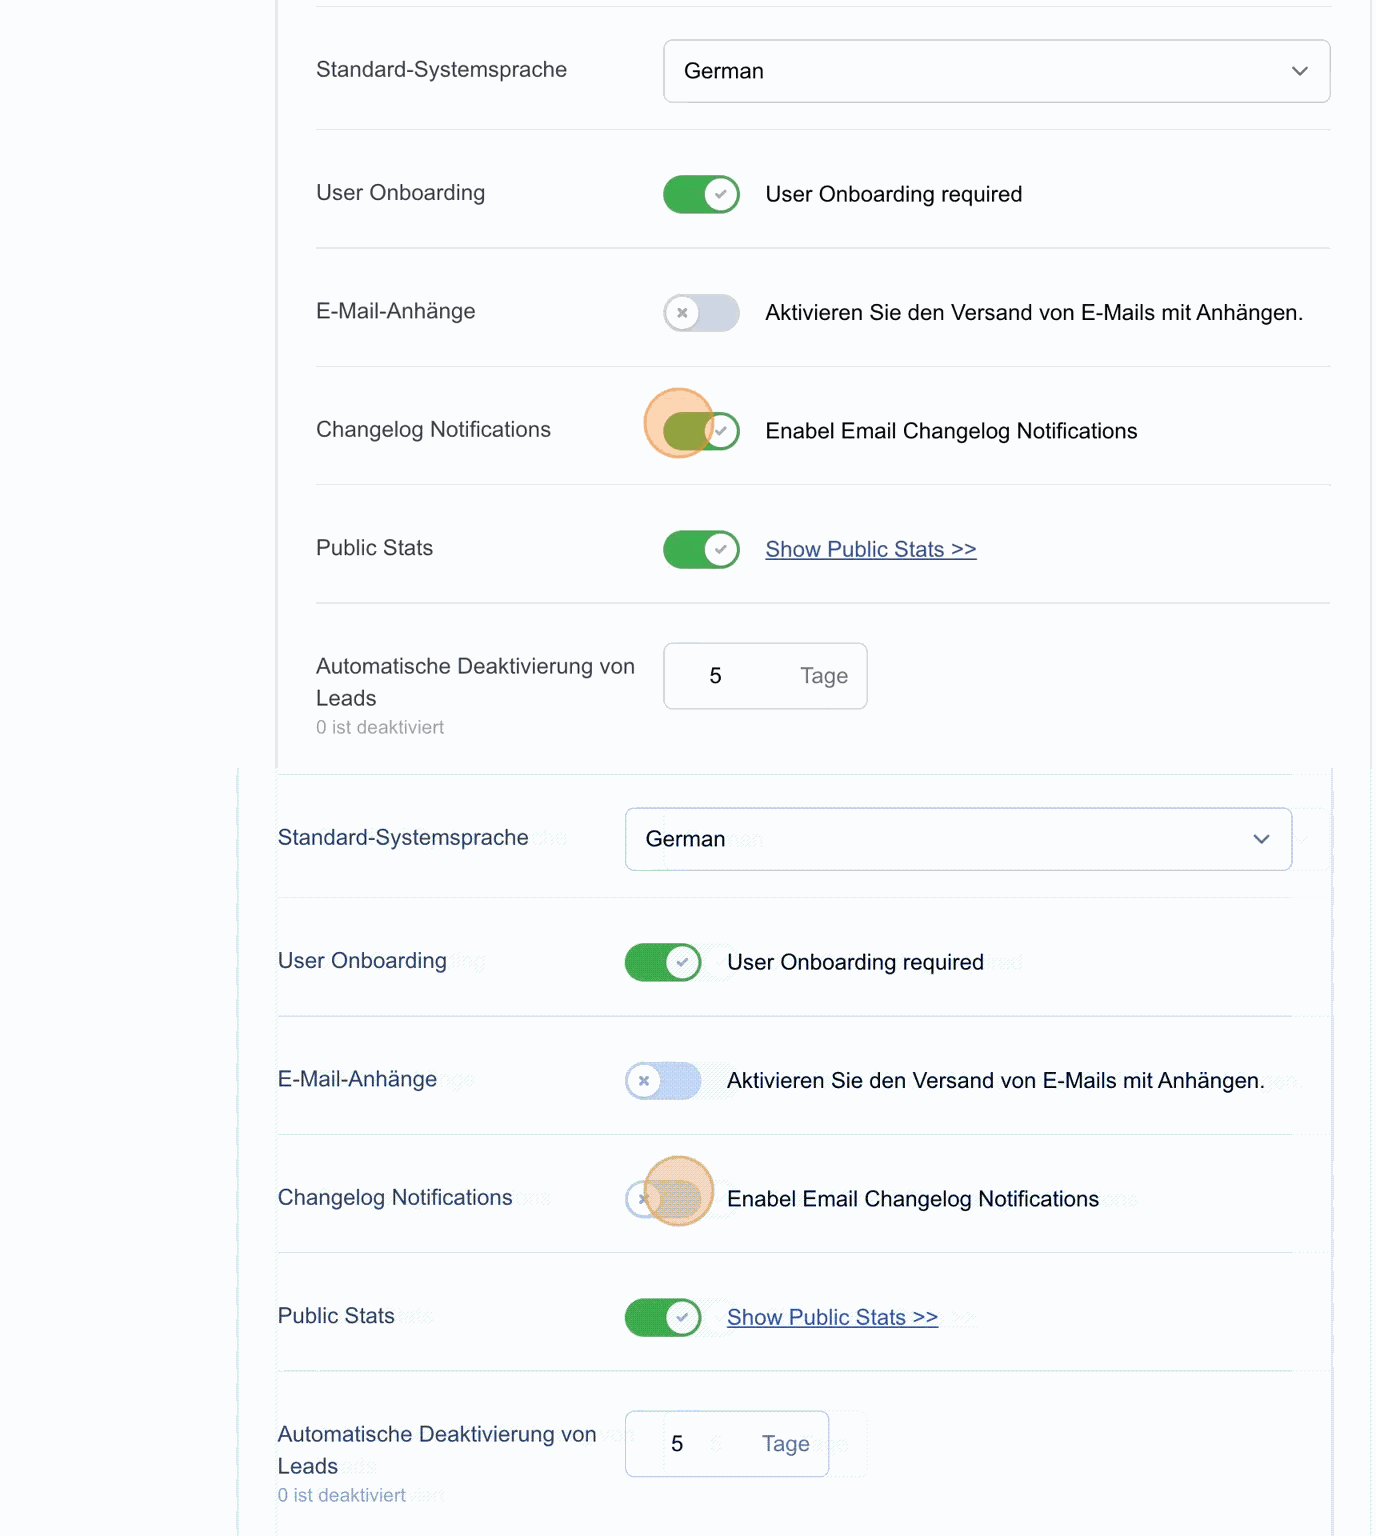
Public Stats
Activating Public Stats generates a link that gives you an overview of the status of your current lead transactions at any time.
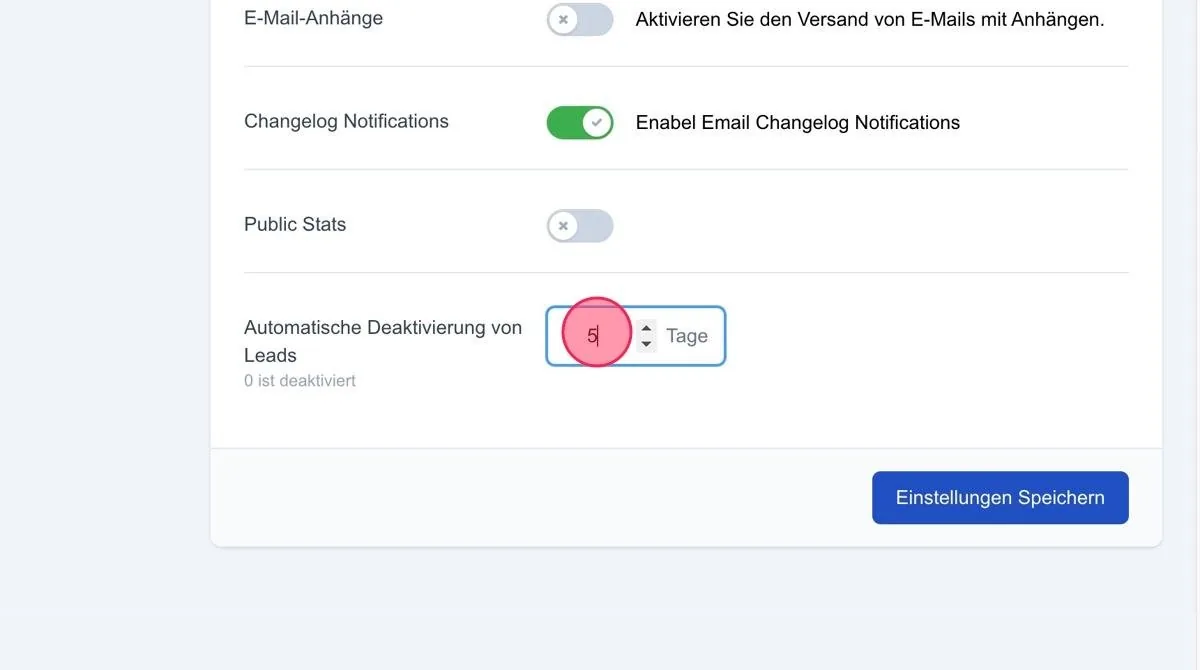
Automatic deactivation of leads
Here you can define after how many days leads should be deactivated. By default, this setting remains at 0 until your system is fully configured.
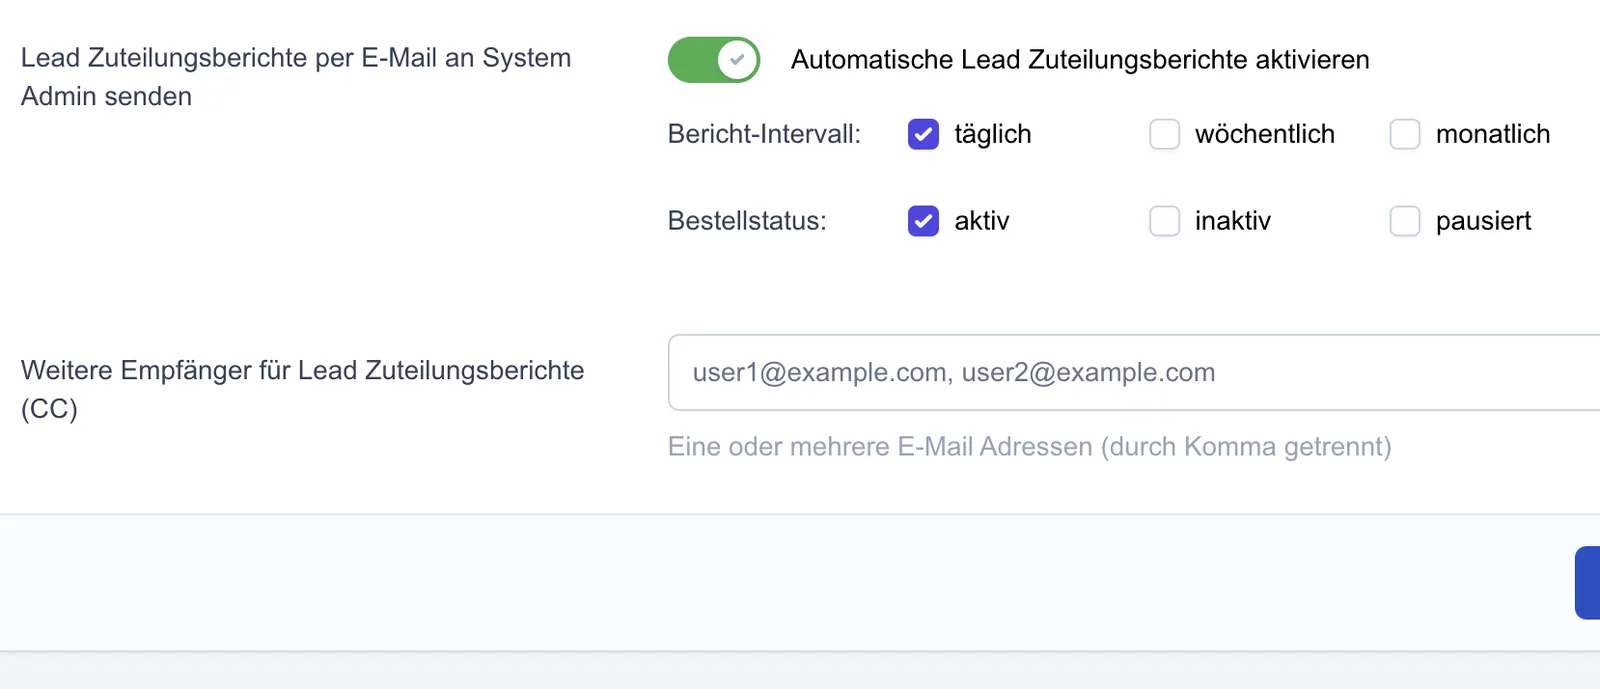
Send lead assignment reports by email to the system admin
When activated, an automatic lead assignment report can be sent by email to the system admin. It can be sent daily, weekly or monthly. You can also set whether only active orders or also inactive and paused orders should be included.
The report contains orders, delivery status, quantities, lead types and the associated users. Additional recipients can be entered separated by commas.
Save settings
Once you have made all settings, click the “Save settings” button to ensure that your changes to the system settings are retained.