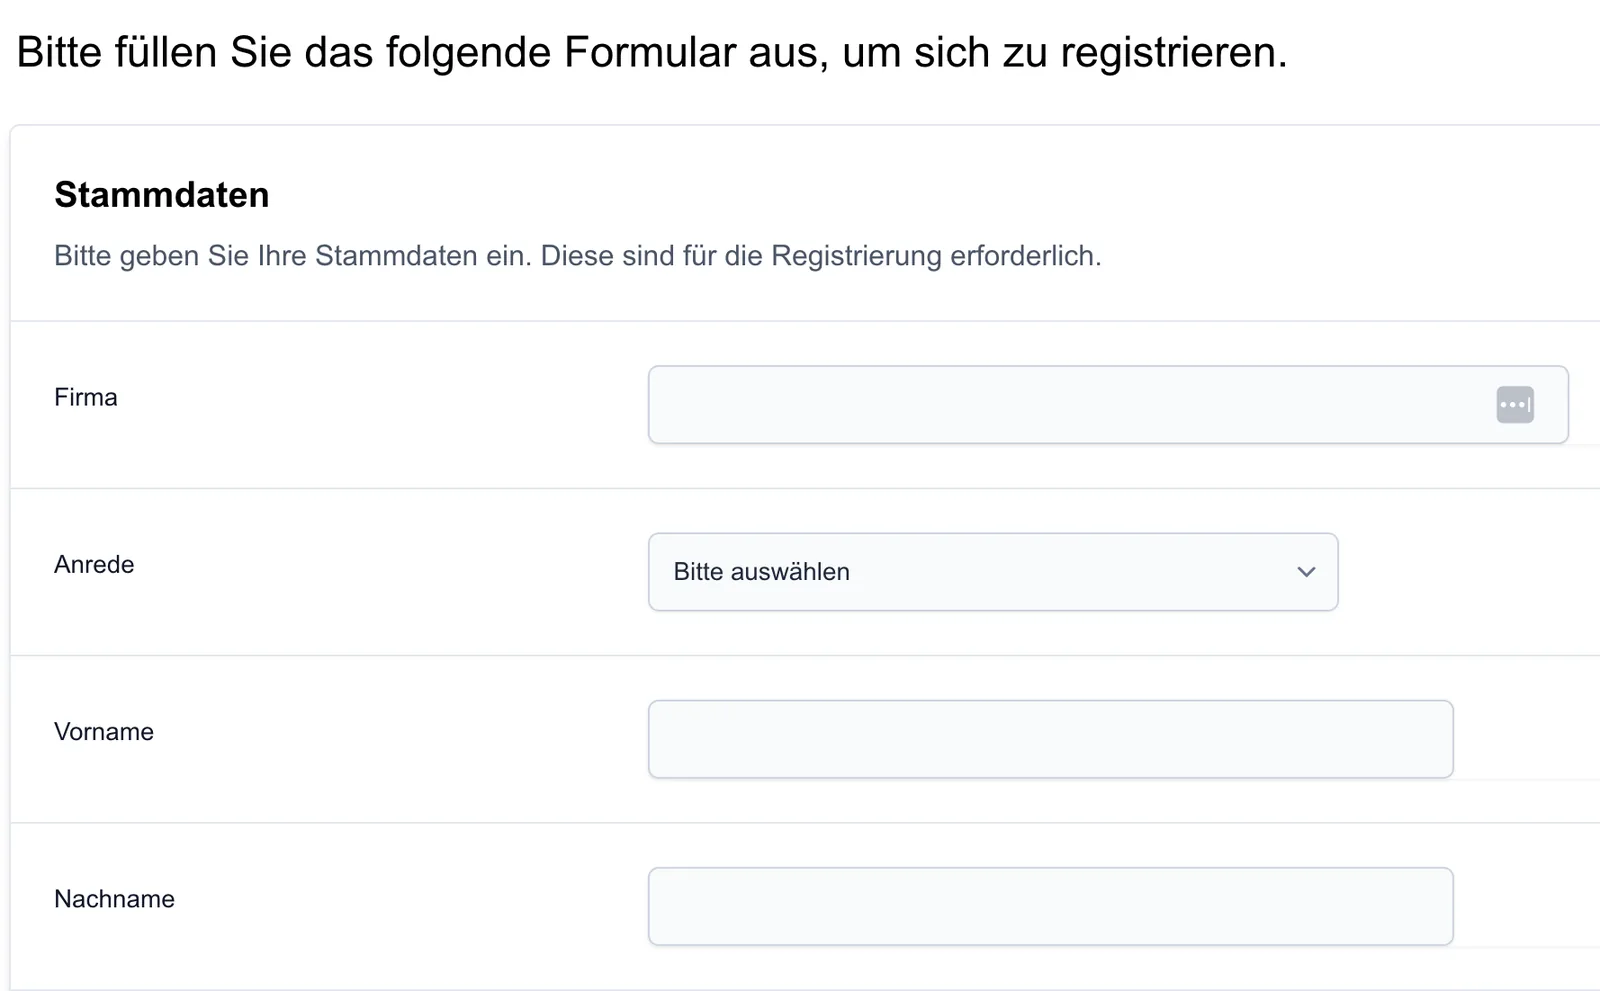
In the branding settings area you can configure the visual identity of your organisation.
Logo
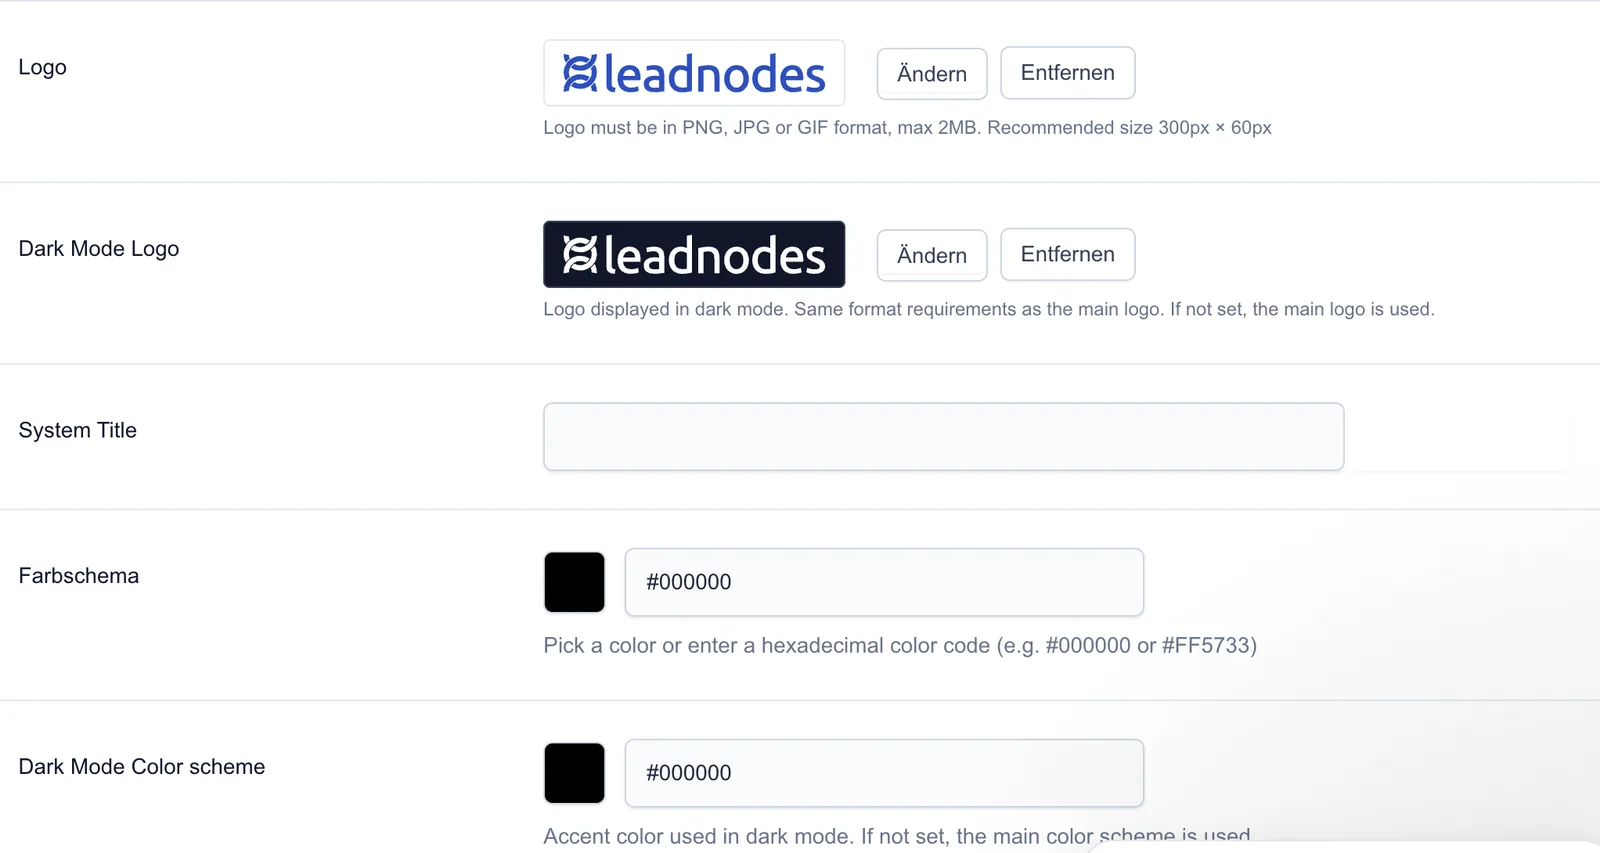
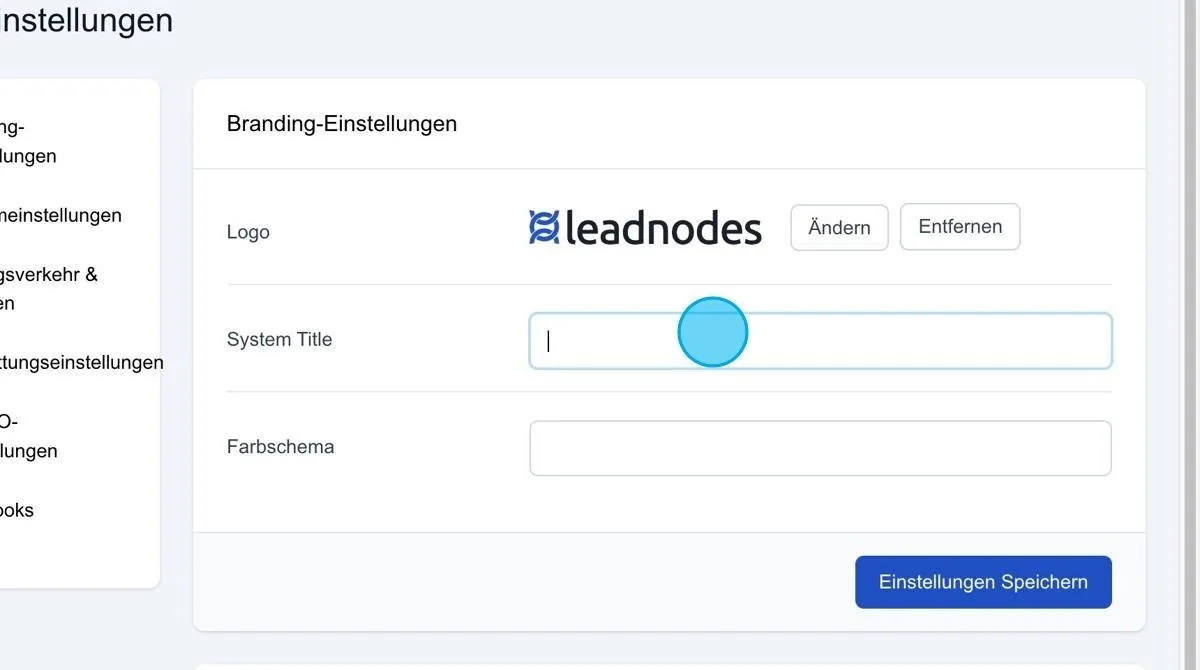
Via the 'Change' button, you can add your organisation's logo. The logo is embedded in the emails sent from the system, creating a professional, brand-specific impression.
Colour scheme
The optional colour scheme offers an additional way to personalise the user interface. By entering the colour code (#), you can adjust the colour of the buttons in the system to ensure a consistent and appealing appearance.
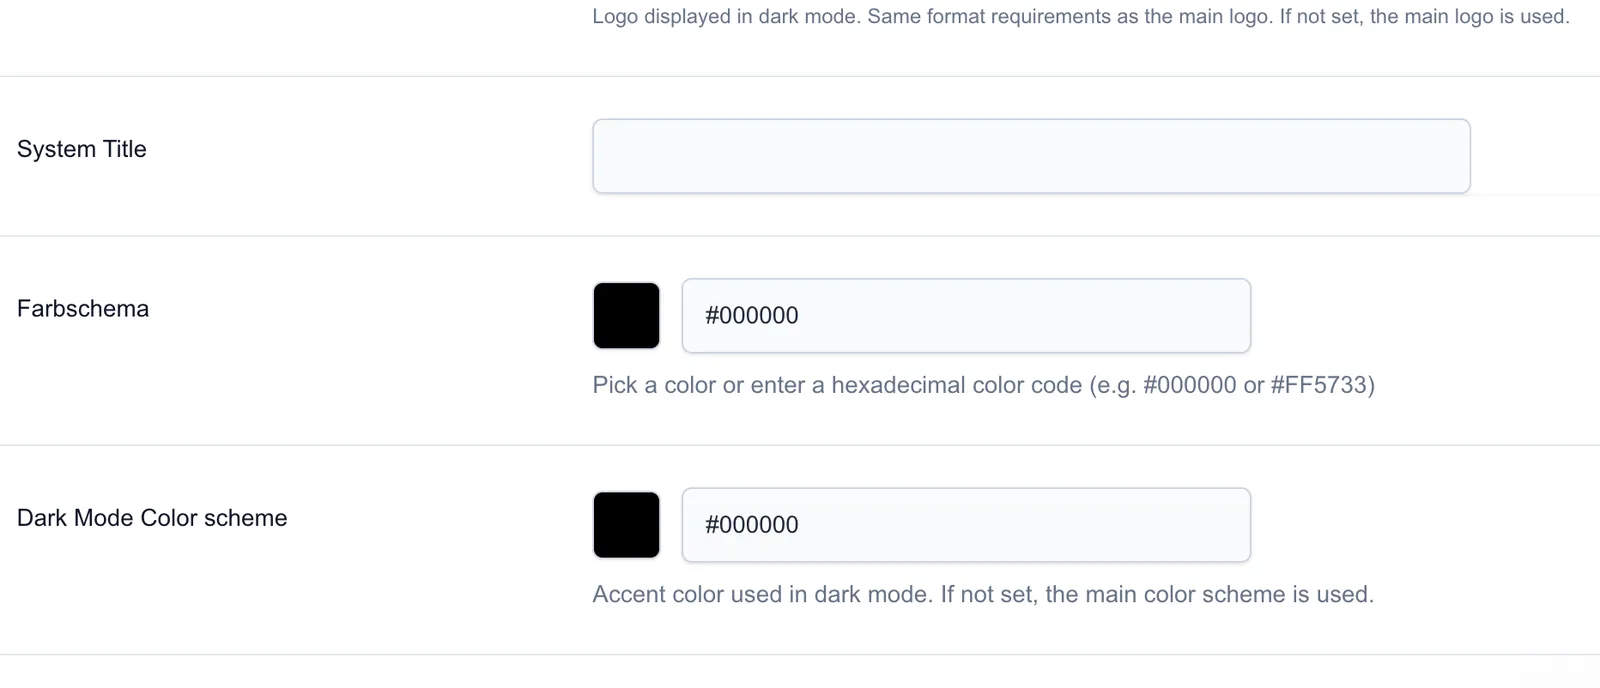
System Title
In the System Title line, enter the title you want to associate with your organisation. Example: Leadnodes GmbH. This name is displayed in various areas of the system and in emails, and helps to identify your organisation.
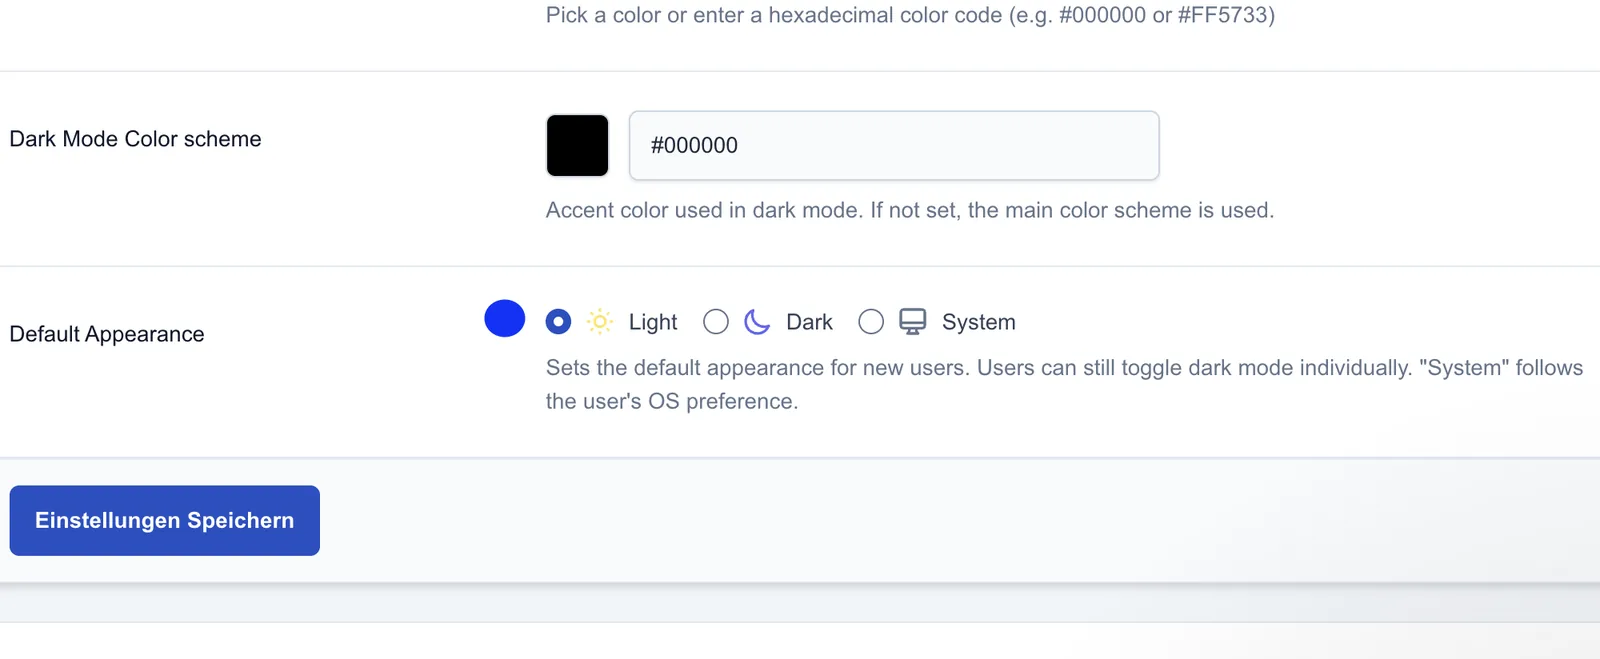
Default Appearance
Dark mode can be activated temporarily via the corresponding icon in the user interface. In addition, under System settings → Basic settings → Branding settings, in the “Default Appearance” area, you can define whether the system loads in light or dark mode by default.
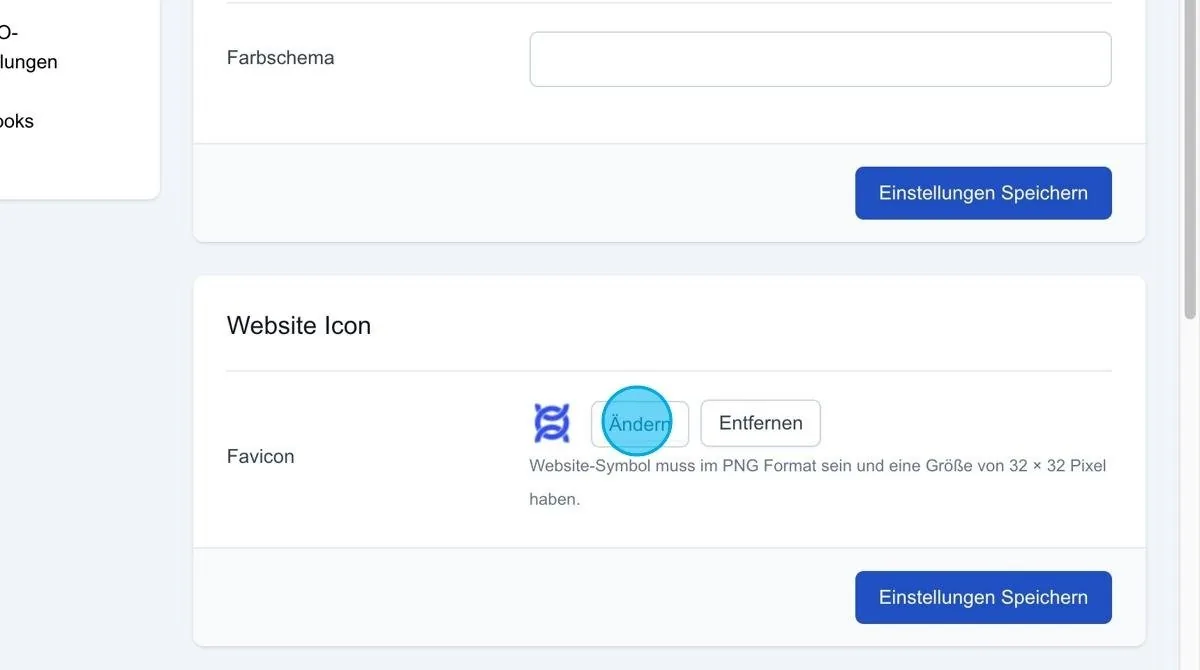
Website icon
You can also upload the website icon; make sure it is 32 x 32 pixels in size. This small but fine detail helps to create a consistent brand presence and gives your system an individual touch.
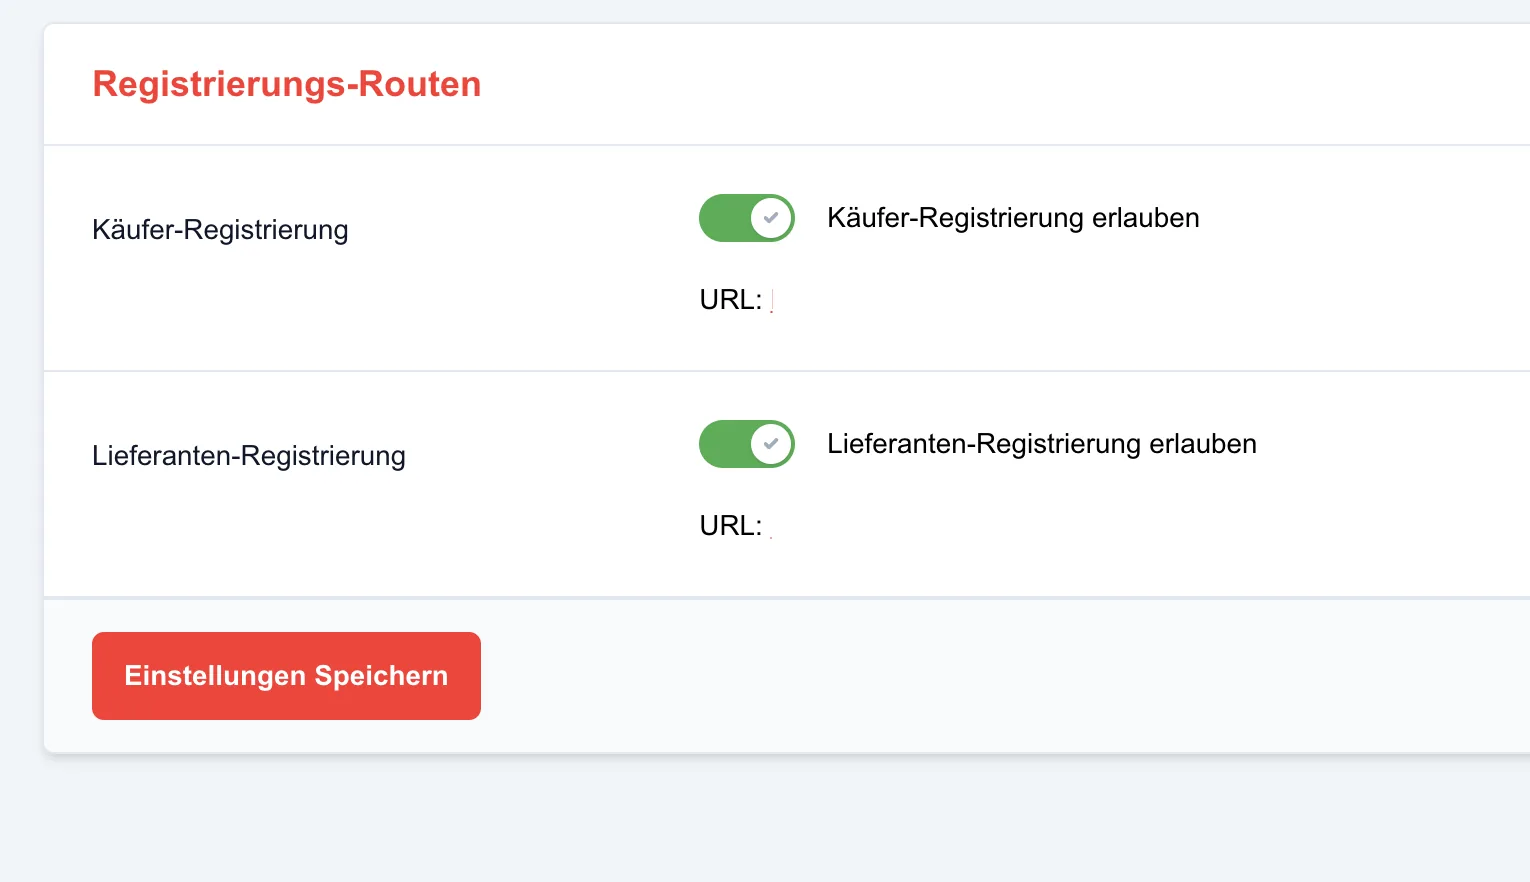
Registration routes – buyer or supplier registration
Here you can activate buyer or supplier registration.
Once activated, separate registration URLs are displayed through which users can register on the platform themselves.
Registration process
The registration form has several steps and asks for the relevant user data.
Depending on the URL used, the user is automatically created as a buyer or supplier after completing the form.